In some special circumstances, like when a report is built to look like a form with input fields, the designer might need to add a cancel or close button to the report. In prior versions of Jedox, a macro script was required to execute this process, but now designers can easily add this feature with the Close action. Note: the execution of the Close action is disabled in the User Preview mode.
To set up the Close action, first select a form element. You can use a button, a checkbox, a list box, a Date Picker, or a ComboBox for this action. As an example, a button is chosen here.
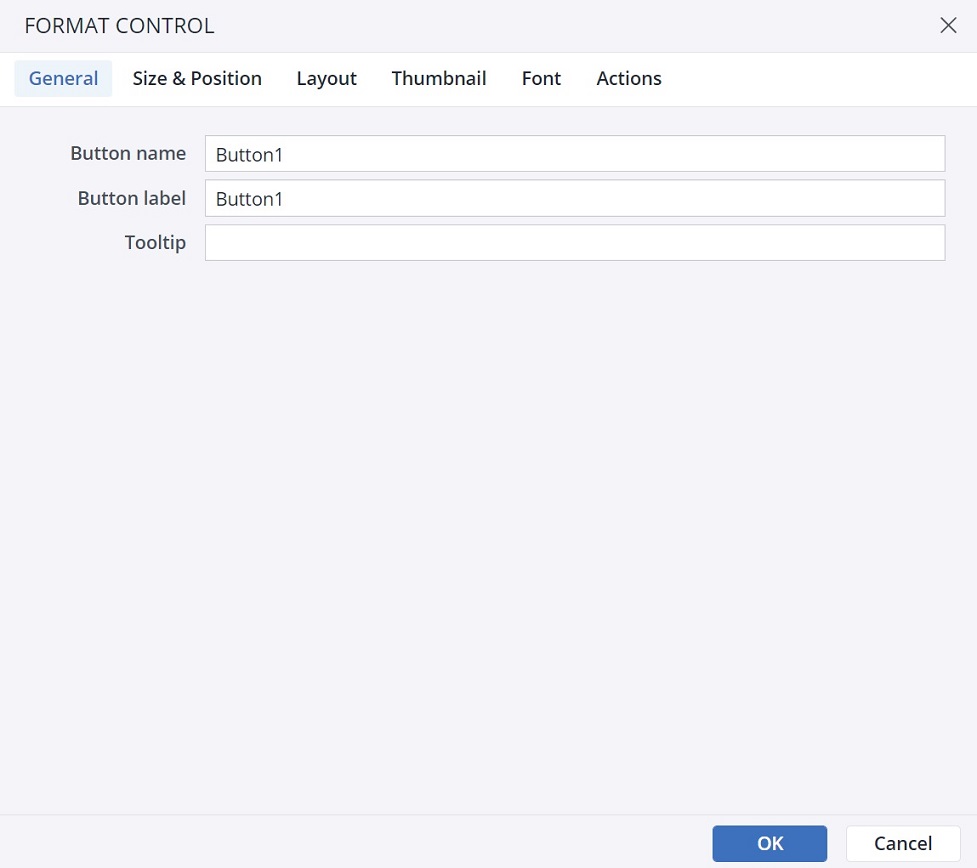
- In the Insert menu, click on the Button icon.

- Click on the Actions tab and click on Add action. Select theClose action.
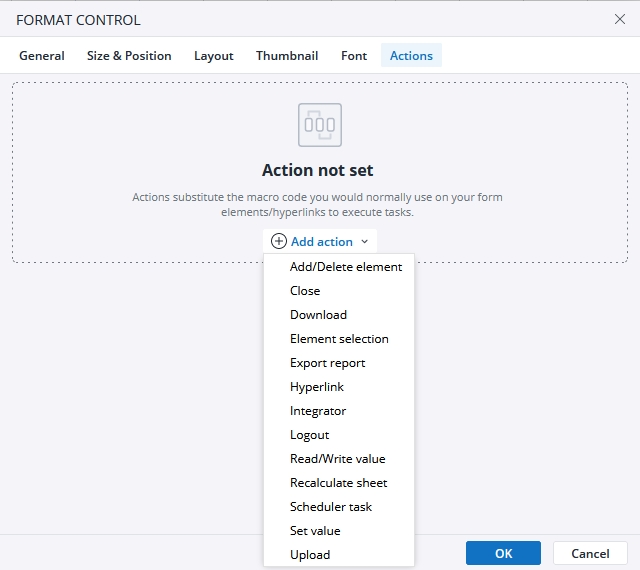
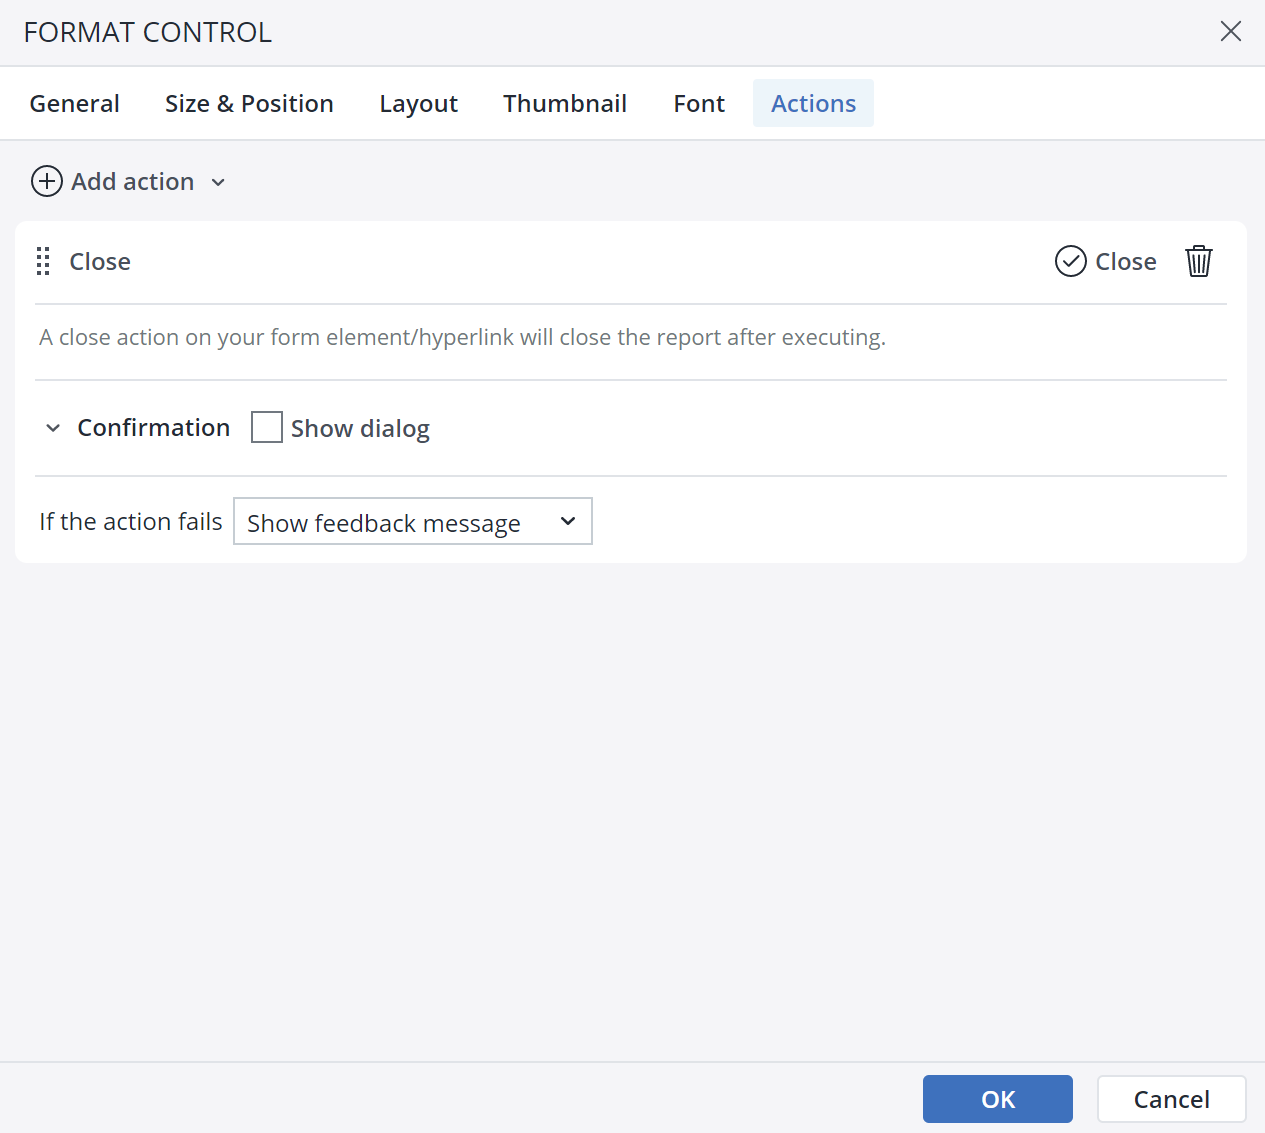
- The next dialog offers several options for the Action. Using the close button, you can close the action, and by clicking on the Bin icon you can delete the action.
- Label and format the button as desired.
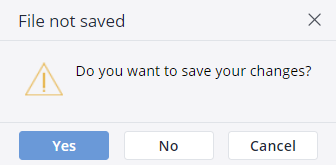
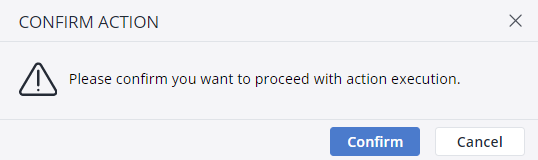
Once the Close button is ready, clicking on it in a report results in the following pop-up dialog:
The Close Action does not have any further functional settings.
Close Confirmation dialog
When you choose the Close action in the Type of action dropdown menu, you can see the Confirmation dialog option at the end of the action dialog.
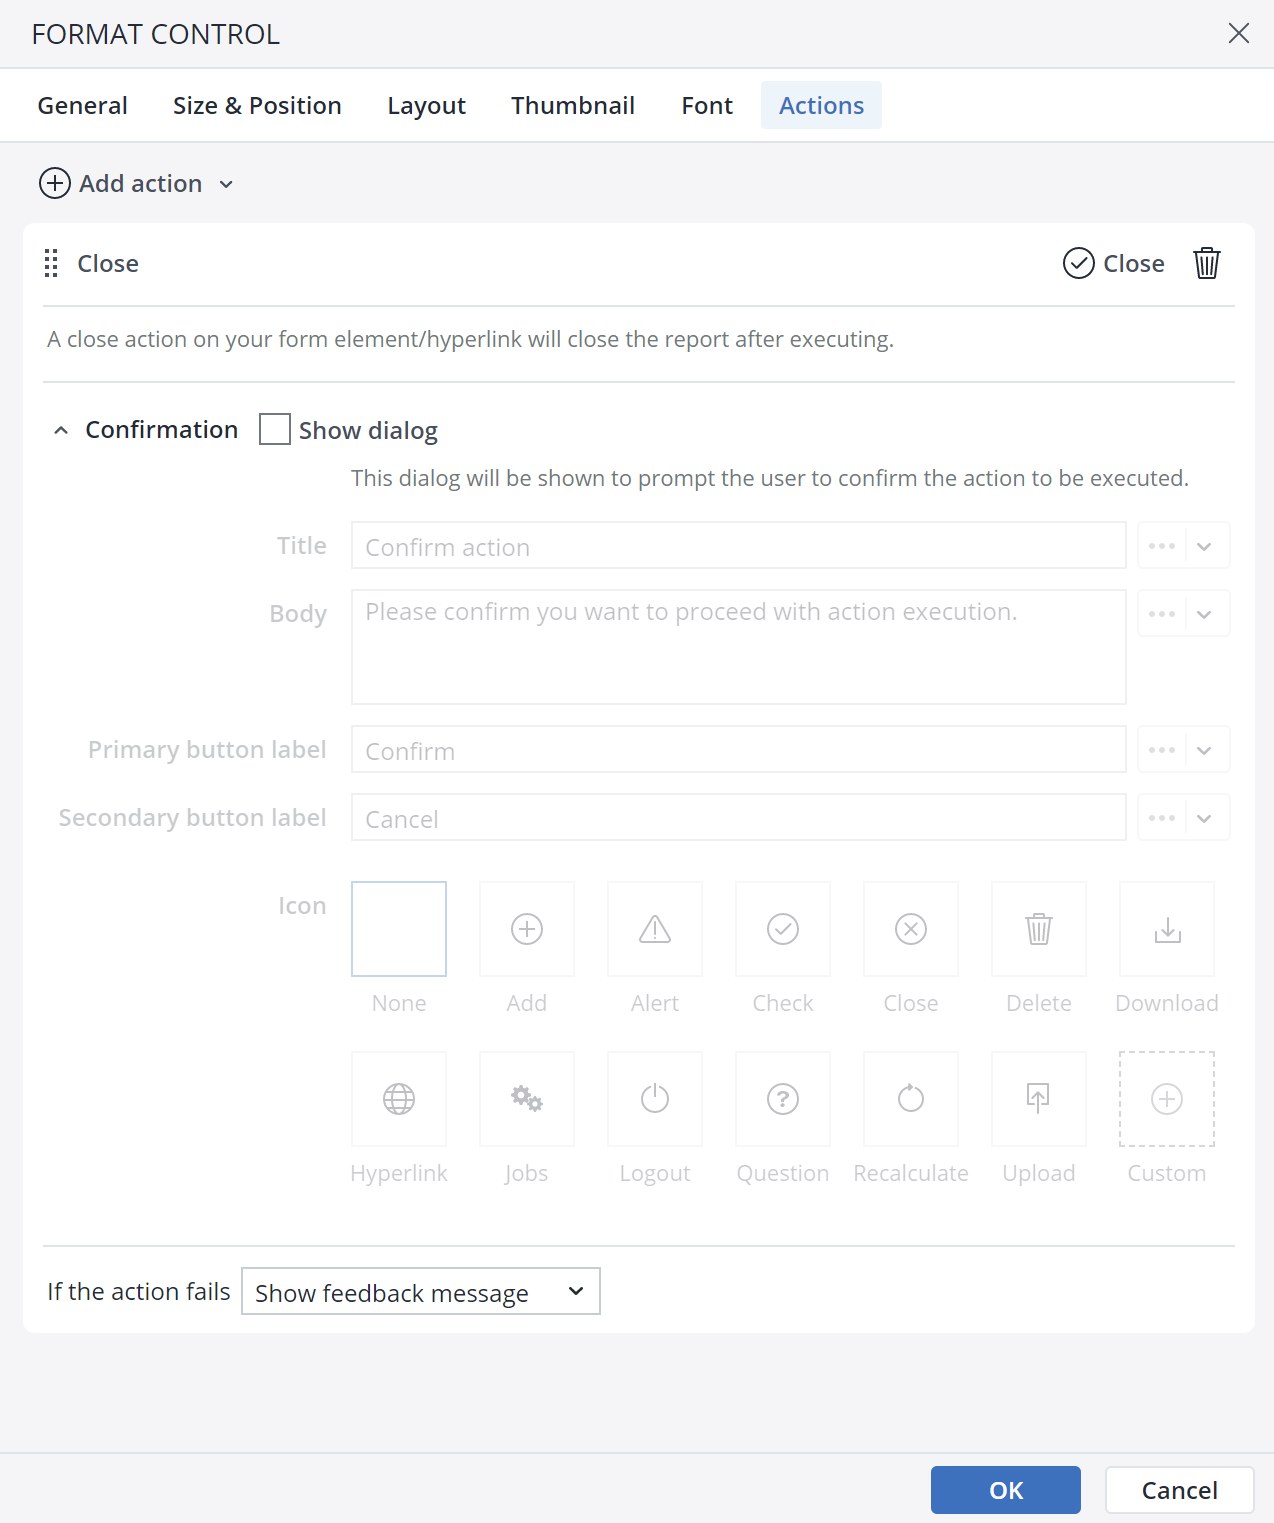
In the Confirmation dialog, you can customize a confirmation message for the end user. You can add a Title, Body, Primary button label, Secondary button label, and an Icon to your customized message. The screenshot below shows a confirmation message:
Action failure
You can choose between two options in case an action fails. First, choose to show a feedback popup, and second, ignore the failure and go to the next action.
Updated July 3, 2025