Occasionally, a report designer needs to provide supplementary documents for the end user. However, it is difficult to insert a document in a spreadsheet. The Download action solves this problem and helps the designer provide downloadable files to the end user. The files can be any of the files that are stored in the Designer component, and the path where the file should be downloaded from can be parametrized.
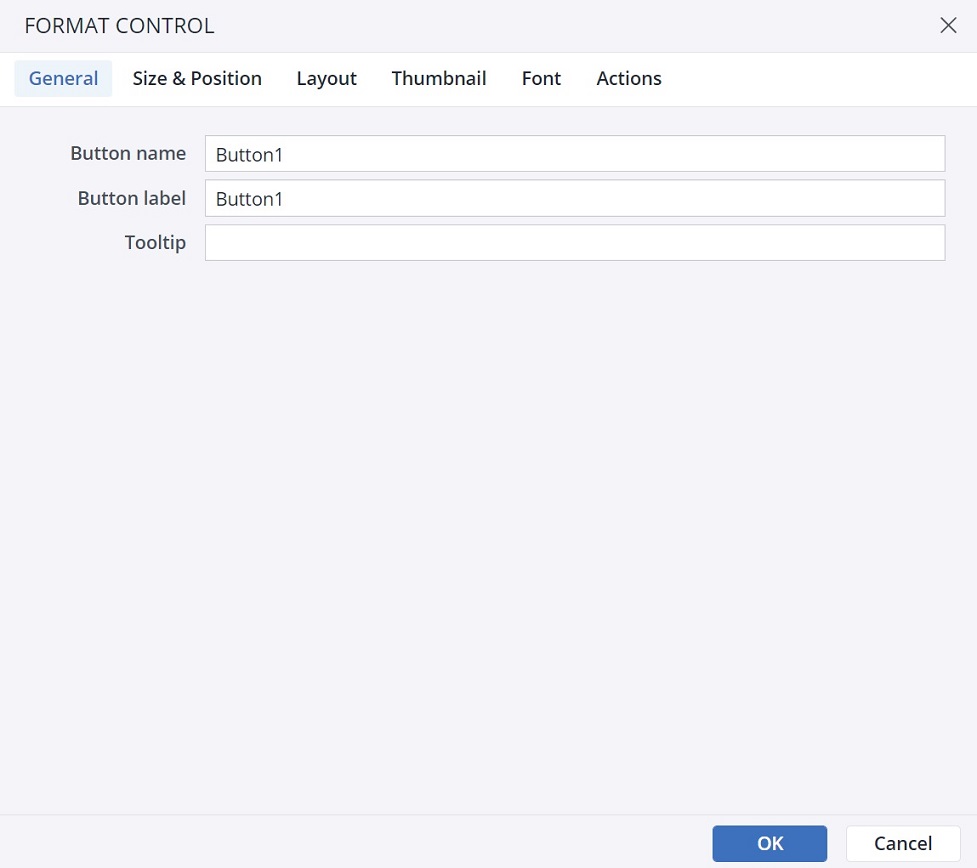
To set up the Download element action, first select a form element. You can use a button, checkbox, list box, Date Picker, or ComboBox for this action. As an example, a button is chosen here.
-
In the Insert menu, click on the Button icon.

-
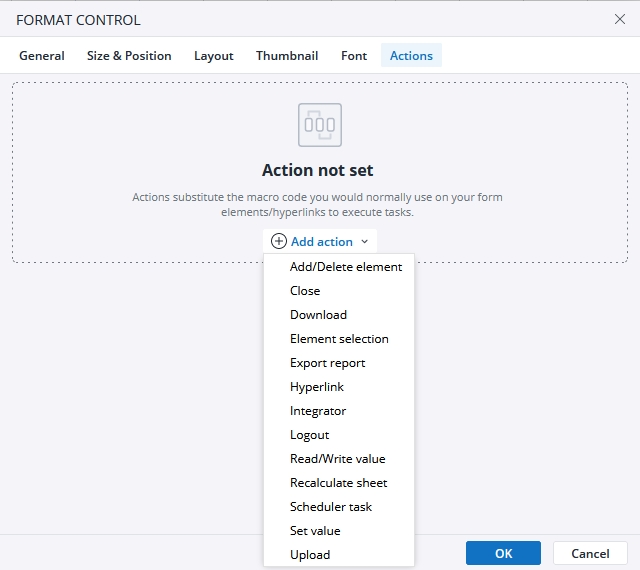
Click on the Actions tab and click on Add action. Select the Download action.
-
The next dialog offers several options for the Action. Using the close button, you can close the action, and by clicking on the Bin icon you can delete the action.

-
Path: clicking on the
 icon opens the path dialog. In this dialog, the designer can select the path and choose the file they want the end user to download. Clicking on the
  icon opens a set of parameterizable options within the worksheet. You can choose between a Range, a Named range, a Static value, a Setting key, or a Variable. Note that to add a dynamic inputs, the source must contain the full path to the file/folder as a string, e.g. "//Demo Spreadsheets/Demos/Resources/Biker_Header.png"
 -
Download as: as the Report Designer you can set the file format (.zip or. pb) the end user will be allowed to download.
-
Allow user to select a file: you can limit the end user to download just one file at a time.
-
Allow multiple selections: you can allow the end user to download multiple files simultaneously.
-
-
Label and format the button as desired.
Download Confirmation dialog
When you choose the Download action in the Type of action dropdown menu, you can see the Confirmation dialog option at the end of the action dialog.
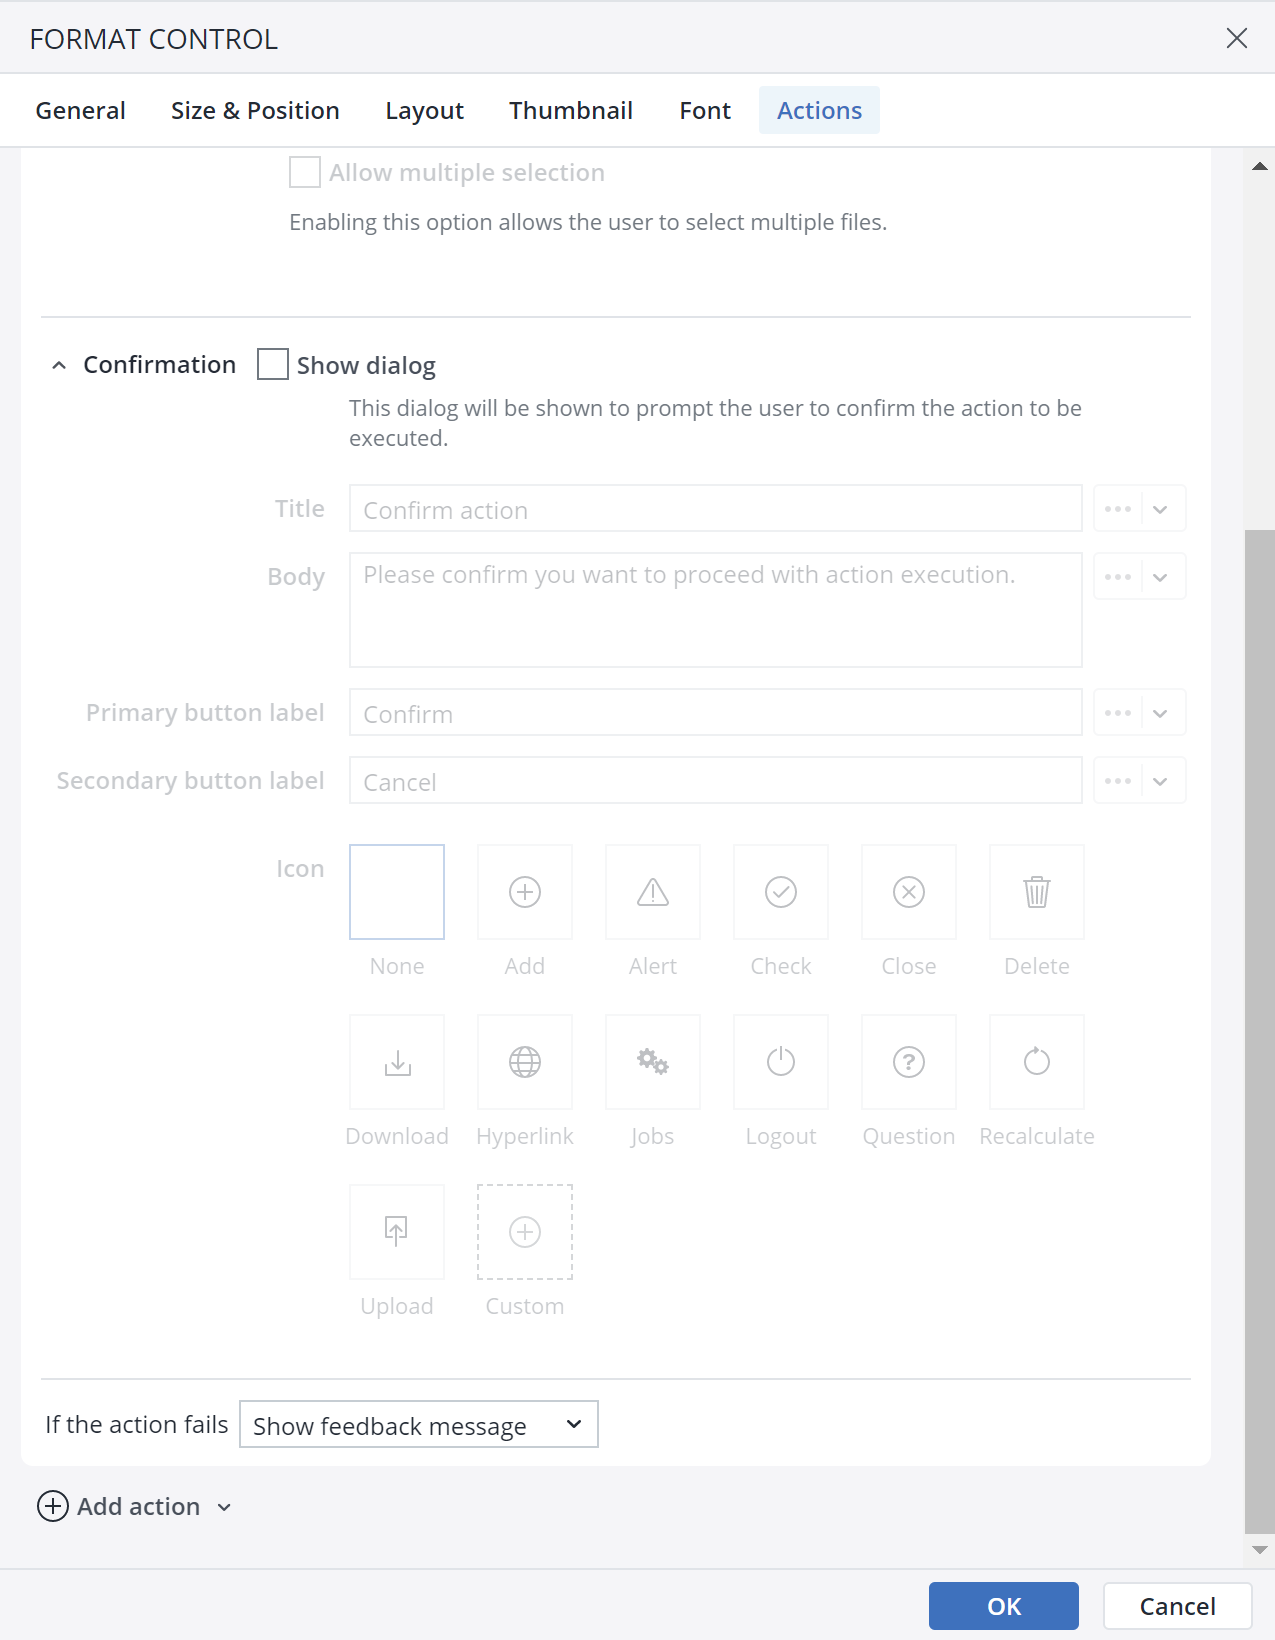
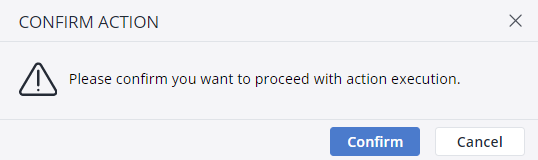
In the Confirmation dialog, you can customize a confirmation message for the end user. You can add a Title, Body, Primary button label, Secondary button label, and an Icon to your customized message. The screenshot below shows a confirmation message:
Action failure
You can choose between two options in case an action fails. First, choose to show a feedback popup, and second, ignore the failure and go to the next action.
Updated July 3, 2025