Typically in a planning application, users may need to execute an Integrator process. In prior versions of Jedox, a macro script was required to execute such a process. The Integrator action now allows the report builder to completely parametrize an Integrator Load or Job via a form element (button, checkbox, list box, Date Picker, or ComboBox) on a spreadsheet.
To set up the Integrator action, first select a form element. As an example, a button is chosen here.
- In the Insert menu, click on the Button icon.

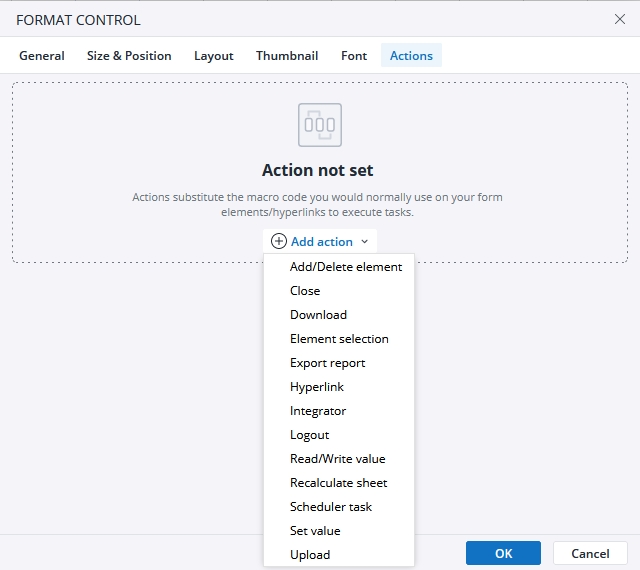
- Click on the Actions tab and click Add action. Select the Integrator action.
- The next dialog offers several options for the Action. Using the close button, you can close the action, and by clicking on the Bin icon you can delete the action.. Here you can also choose the Scope, the Project, and the Load or job.
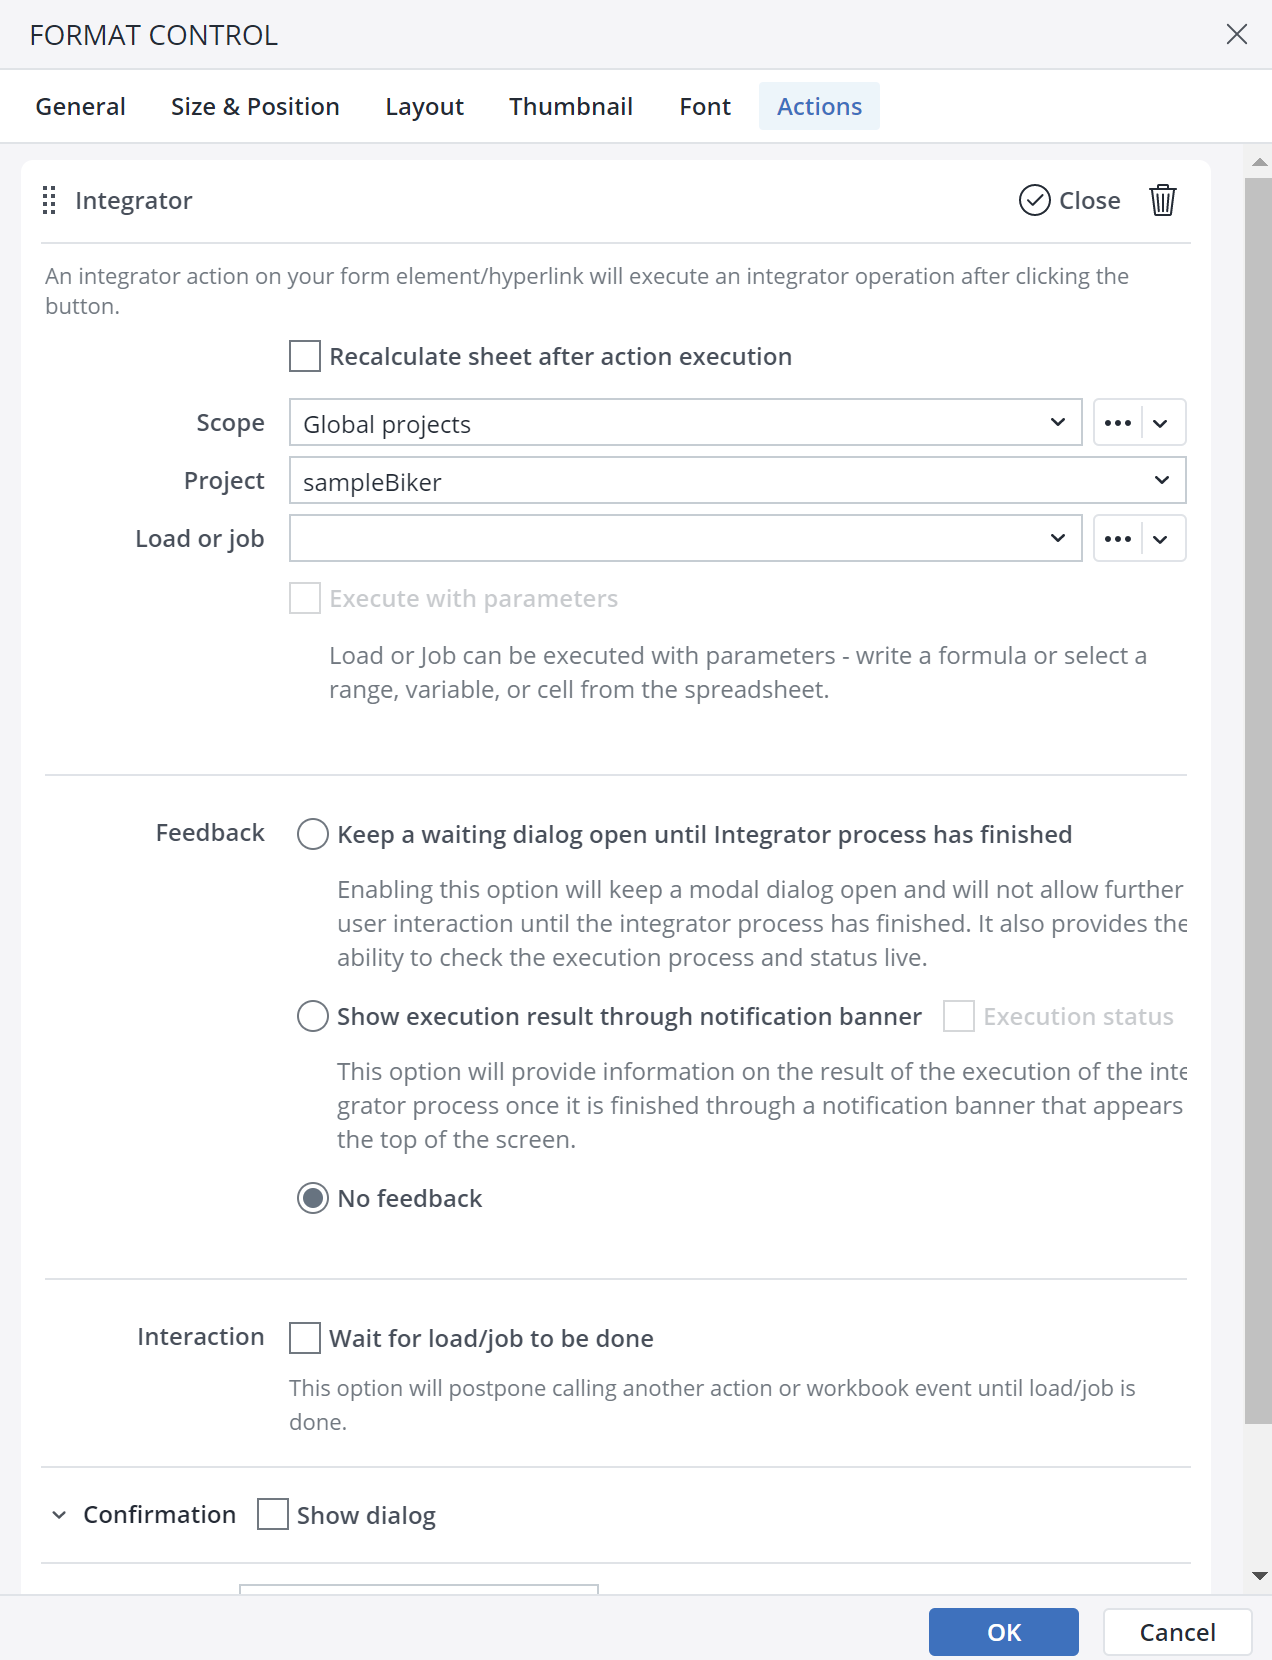
For the Scope, and Load or job sections of an Integrator action, you can define a Named range, a Range, and a Variable. When using a Named range in the Load or job section, the correct syntax for referring to an ETL load/job is to refer to the load/job locator, not the name of the job. For example, for a job called "default" in a project called "sampleBiker" the correct syntax is:sampleBiker.jobs.default
In the feedback section, you can choose whether to wait for the Integrator Load/Job to finish before the user can continue working, or to put the Integrator Load/Job in the background and receive a notification once it is finished. If you activate the Show execution result through notification banner option, a banner informs you when the Integrator process is finished.
Clicking on the info button opens a log that allows you to see the execution status.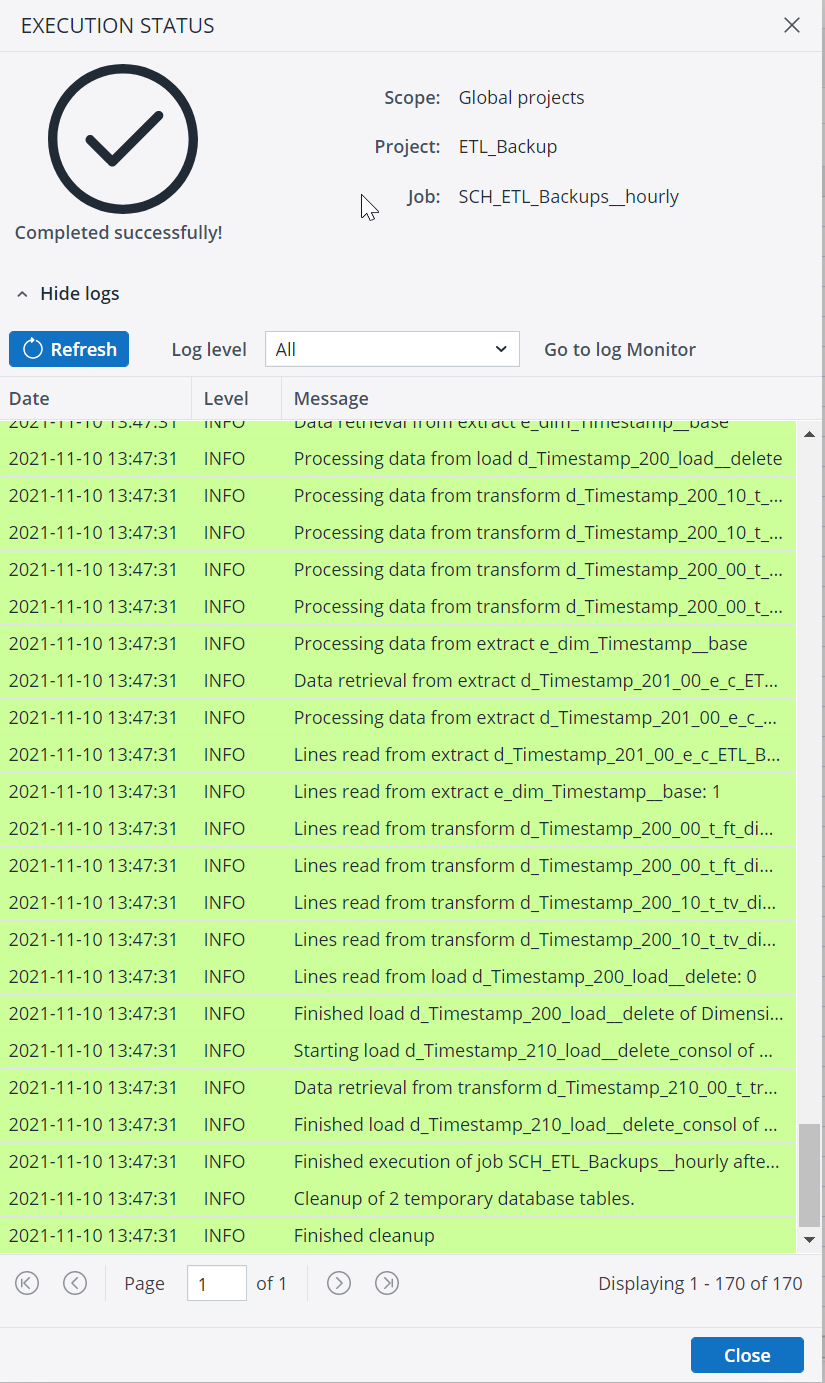
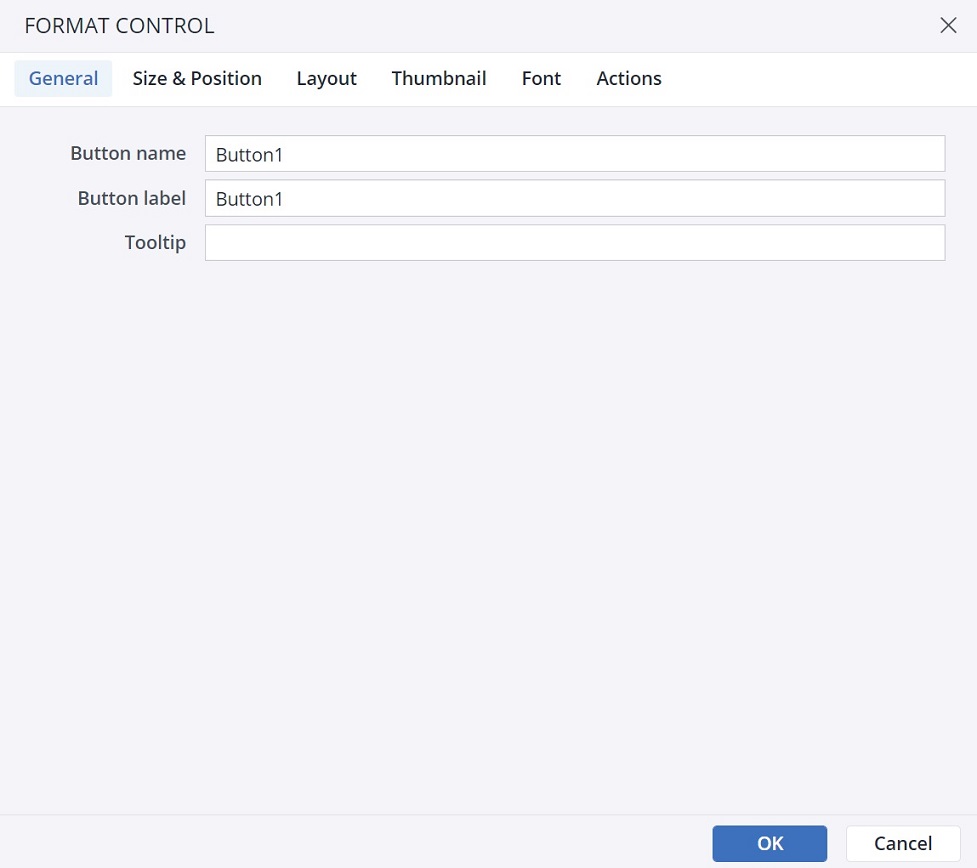
- Label and format the button as desired.
When defining an Integrator action, the designer can also see the Project variables for the selected Integrator job, and pass values to those variables. To define variable values, enable the option "Execute with parameters."
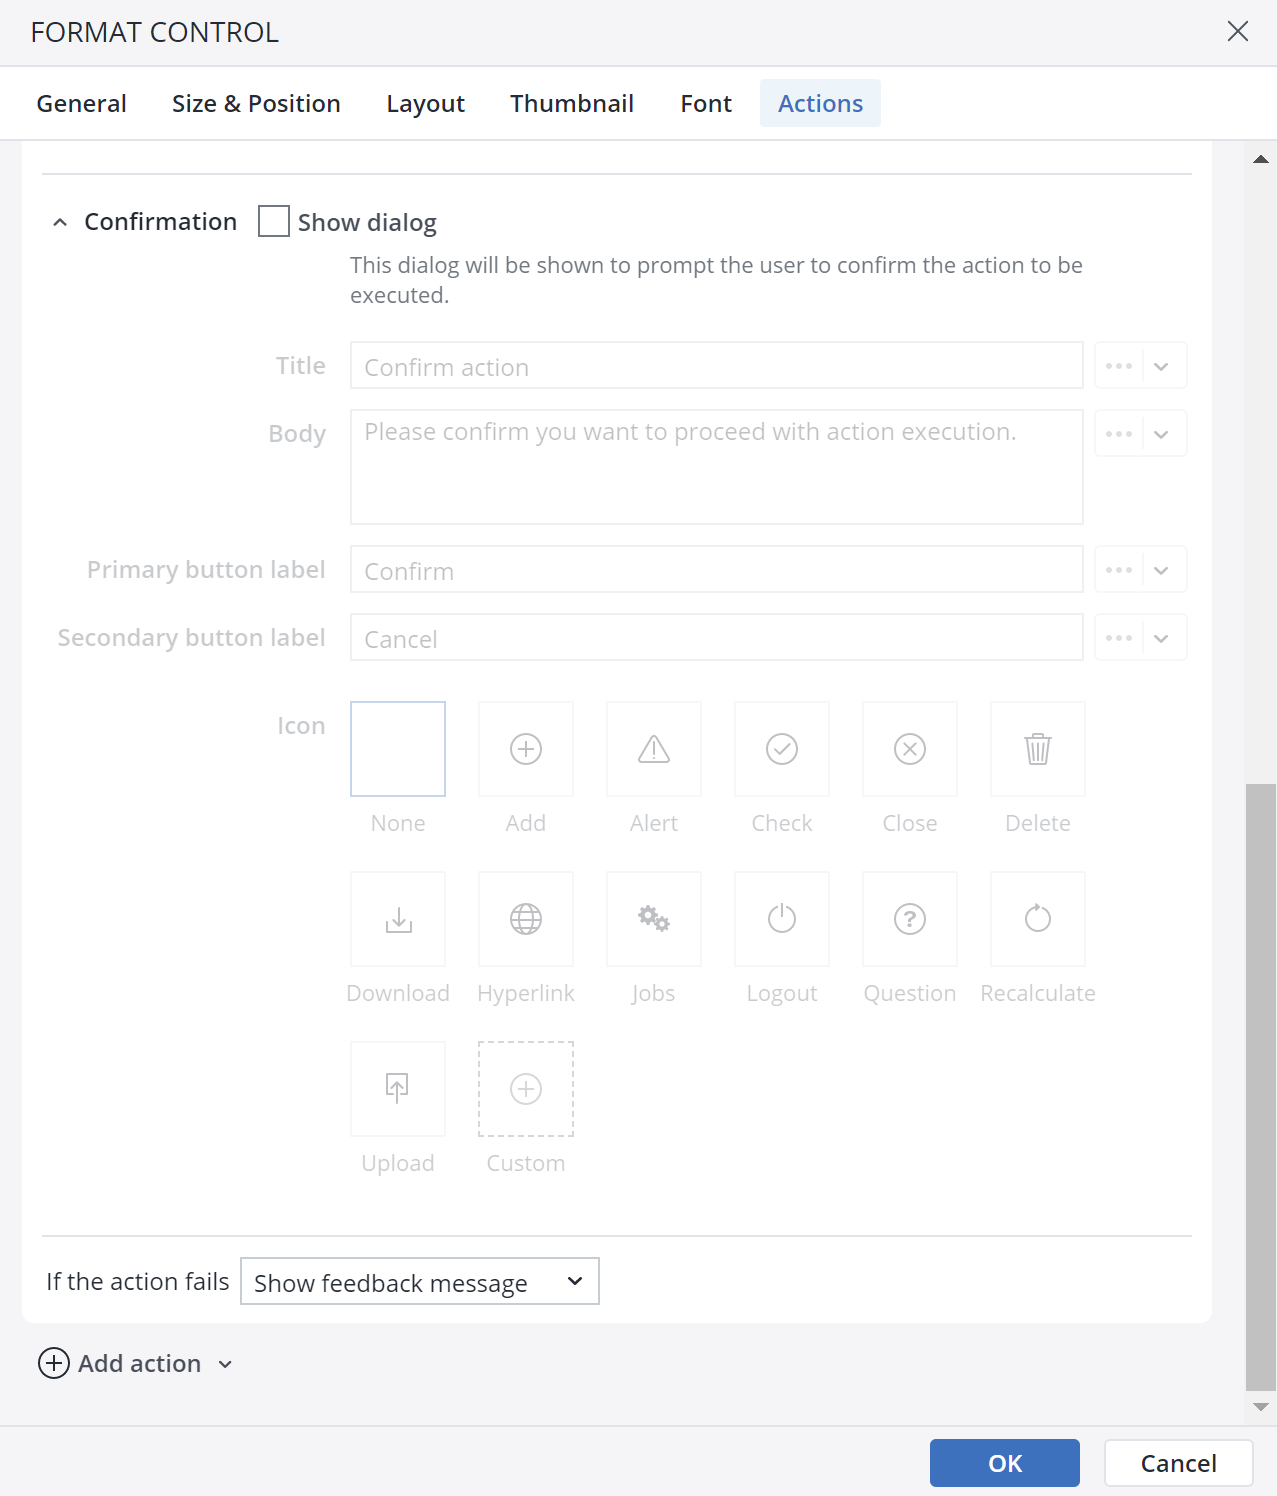
Integrator Confirmation dialog
When you choose the Integrator action in the Type of action dropdown menu, you can see the Confirmation dialog option at the end of the action dialog.
In the Confirmation dialog, you can customize a confirmation message for the end user. You can add a Title, Body, Primary button label, Secondary button label, and an Icon to your customized message. The screenshot below shows a confirmation message:
Assigning Actions to Workbook event
As a Jedox Report Designer, you can assign an Action to open, load, and close workbook events. This way, the states are initialized or cleaned up without needing to write any Macros.
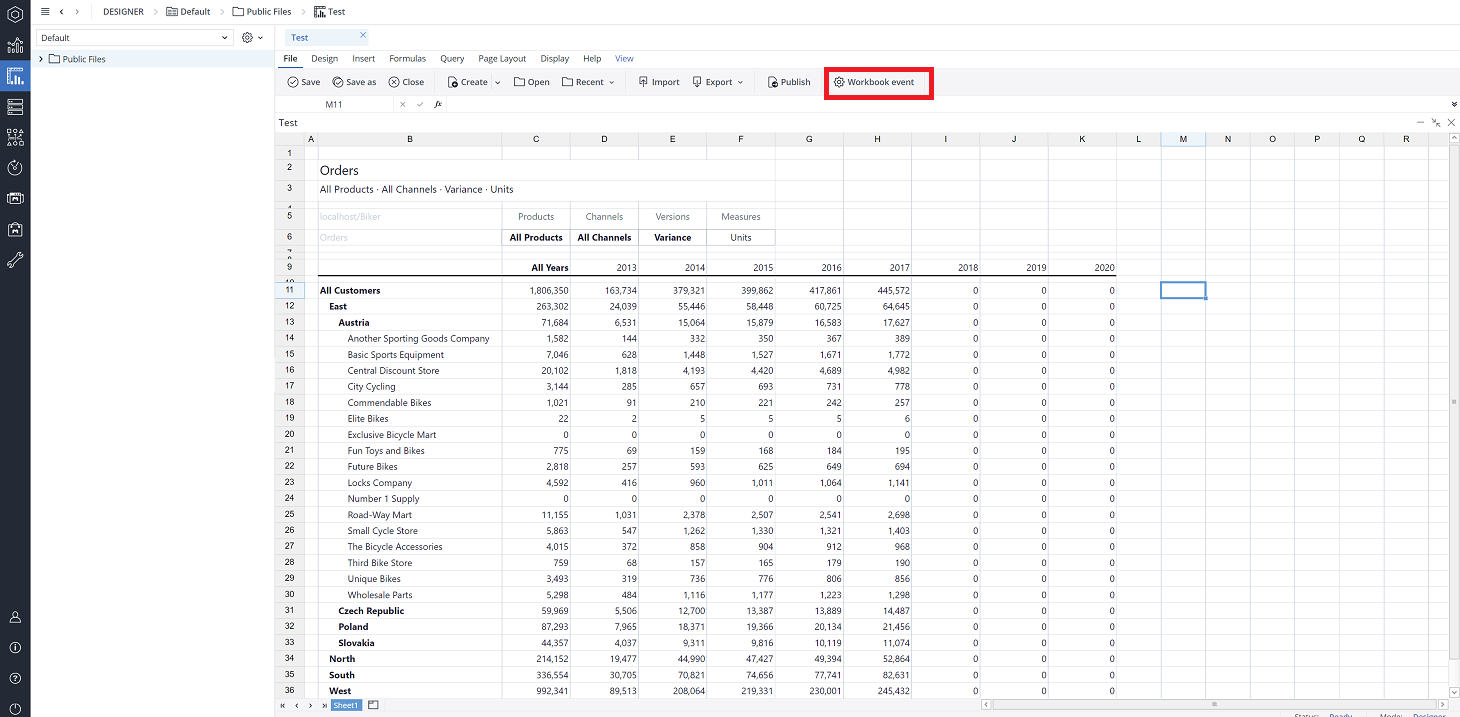
To assign an Action for workbook events, click on File > Workbook event.
You can assign an Integrator Action to the Load, and Close workbook events.
Notes:
-
Actions assigned to the Workbook events in the "Resource" workbooks (workbooks loaded in the background while some reports are opened) will not be executed.
-
When using a Canvas, only Actions assigned to the Workbook events in the current Workbook, which contains the Canvas, are executed. Actions assigned to the Workbook events in other workbooks, from which the content is loaded into the Canvas, will not be executed
Action failure
You can choose between two options in case an action fails. First, choose to show a feedback popup, and second, ignore the failure and go to the next action.
Updated July 21, 2025
