Sometimes end users need to upload supporting documents alongside their planning numbers. The Upload action enables the report designer to configure an upload method for the end users.
Using this method, the end user can upload documents by choosing a file or multiple files in the file browser. It is also possible to upload files by dragging and dropping them in the Upload pane.
To set up the Upload action, first select a form element. You can use button, checkbox, list box, Date Picker, or ComboBox for this action. As an example, a button is chosen here.
-
In the Insert menu, click on the Button icon.

-
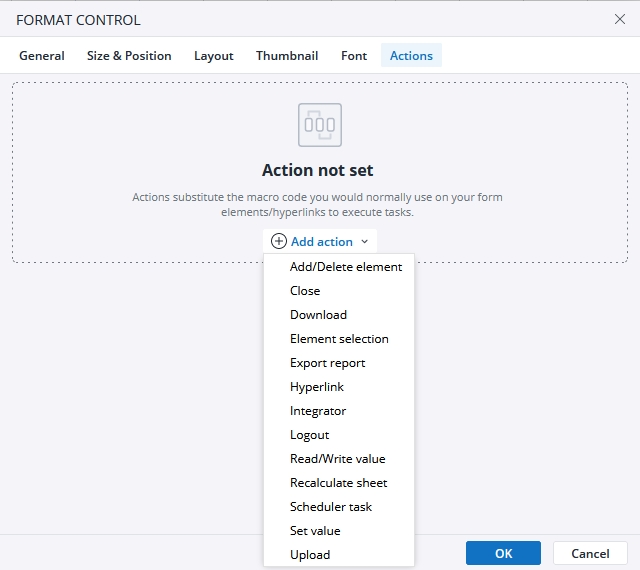
Click on the Actions tab and click Add action. Select Upload and click OK.
-
The next dialog offers several options for the Action. Using the close button, you can close the action, and by clicking on the Bin icon you can delete the action.
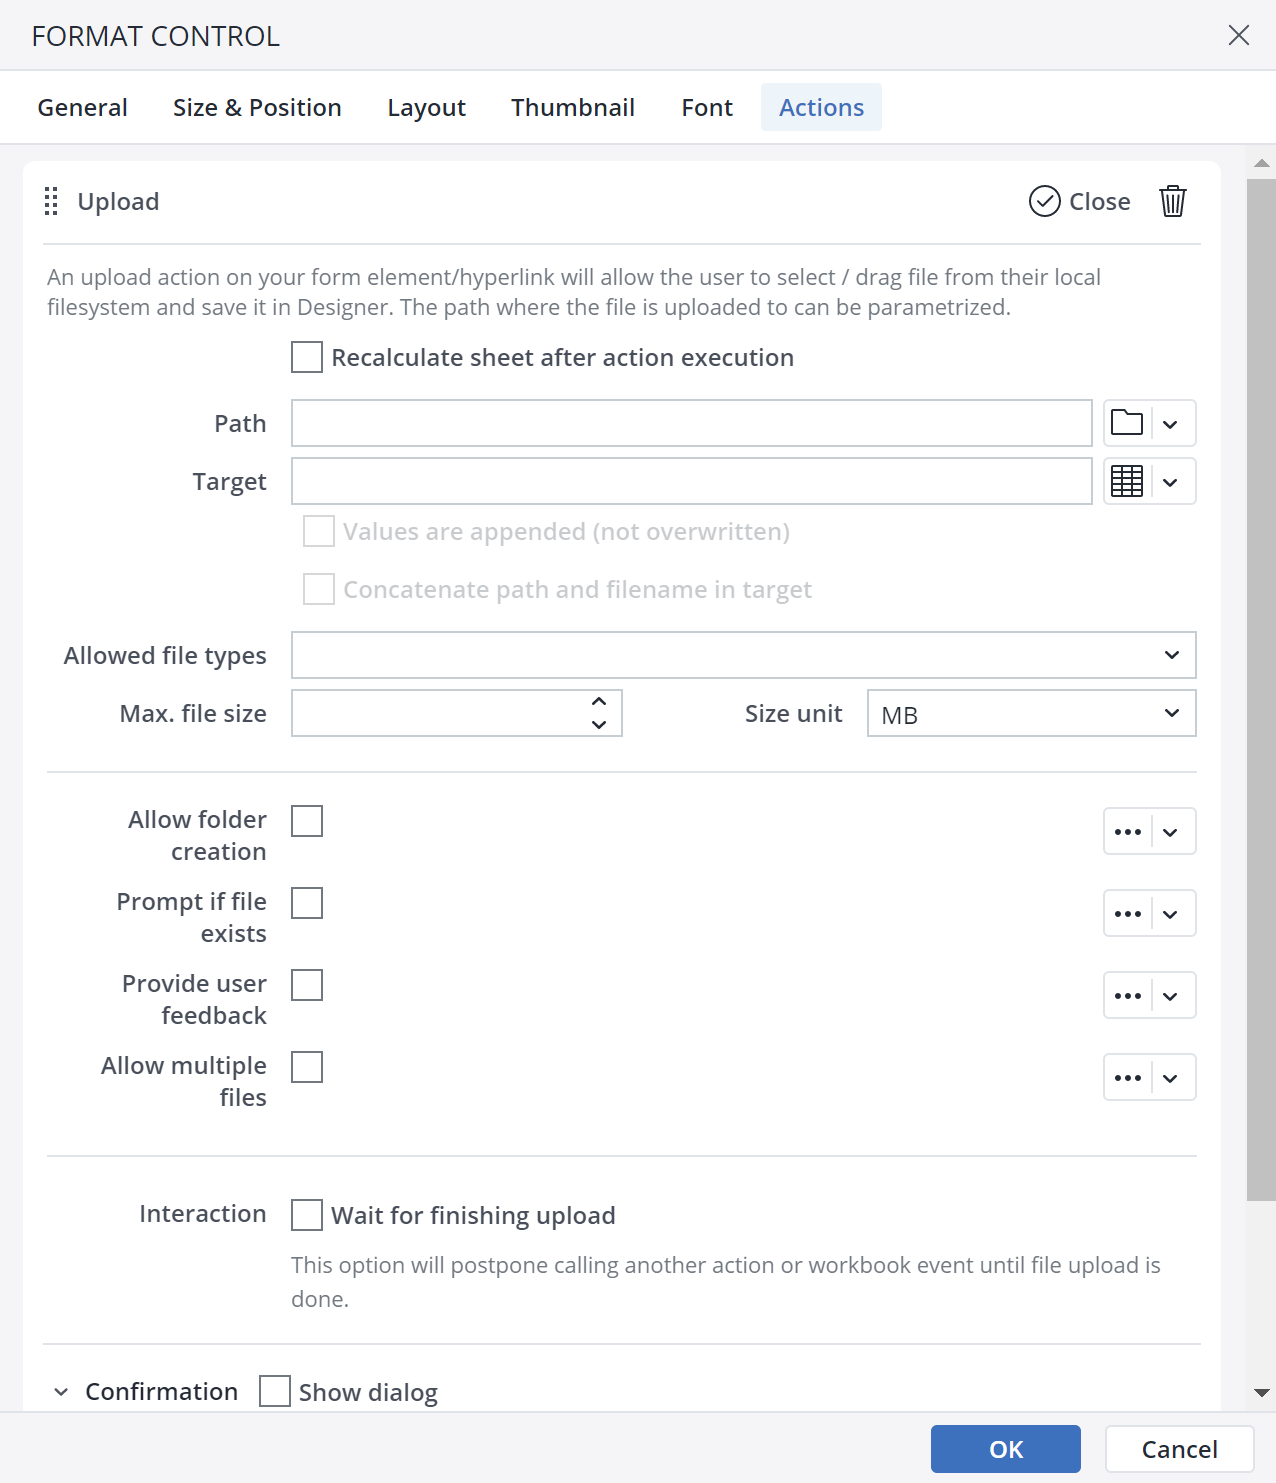
In the Upload dialog, you can choose whether the sheet should be recalculated after the Upload action is executed; define the maximum allowed size of the uploaded file, and the file extensions allowed to be uploaded. You can specify the path to save the uploaded file.
-
Path: clicking on the
 icon opens the path dialog. In this dialog, the designer can select the path, and choose the file they want the end-user to upload.Clicking on the
  icon opens a set of parameterizable options within the worksheet. You can choose between a Range, a Named range, a Static value, a Setting key, or a Variable. Note that to add a dynamic inputs, the source must contain the full path to the file/folder as a string, e.g. "//Demo Spreadsheets/Demos/Resources/Biker_Header.png"
 -
Target enables you to save the uploaded file name in a Range, a Named range, as a Static value, a Setting key, or a Variable. Optionally, you can turn on flags that allow multiple file names to be saved in a variable as an array.
-
Values are appended can be used when you do not want your values to be overwritten. The Concatenate path and file name in target option allow you to reference the uploaded file for a follow-up task. Using this option, you can concatenate the specified path with the returned target (filename), hence, having the full location of the file which can be used in further operations.
-
Allow folder creation: if the given path does not exist, the action would typically fail. To automatically create the necessary folders while uploading, you can use the Allow folder creation option.
-
Prompt if the file exists: if an uploaded file already exists, you can optionally provide a user prompt that informs the end-user, and leaves the decision to overwrite the file to them. If this option is left empty, the file will be overwritten without any prior notice.
-
Executing an Upload action with the enabled Provide user feedback option results in a banner that shows the upload action's status and result.
-
Allow multiple files: enables the end user to choose multiple files in the file for upload.
-
Wait for finishing upload: postpones calling another action or workbook event until file upload is done.
-
-
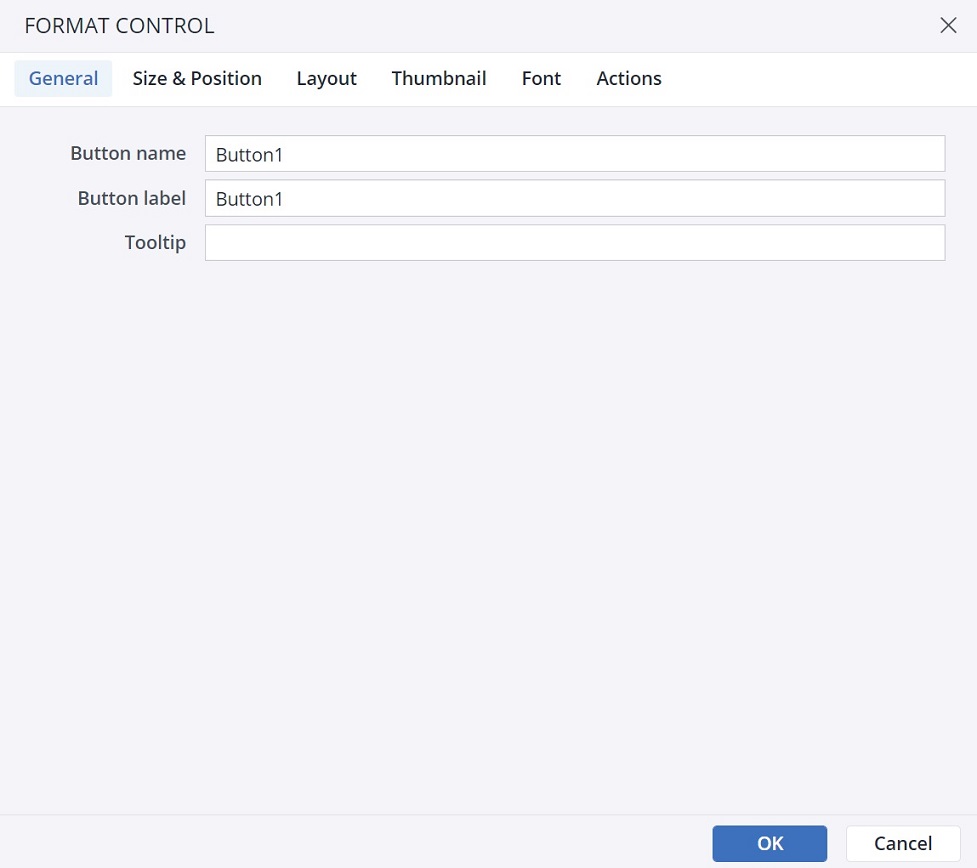
Label and format the button as desired.
For a user to execute the upload action, the user's role must have "Full_access" to the "ste_storage" right object, and at least "Write" access on the "dimension element" right object in Jedox In-Memory database. Furthermore, the user must have "Write" access to the Designer folder where the uploaded files are stored. However, role access to the Designer component itself (ste_files) is not required.
Note that the Upload action is currently not supported on Jedox Mobile.
Upload Confirmation dialog
When you choose the Upload action in the Type of action dropdown menu, you can see the Confirmation dialog option at the end of the action dialog.
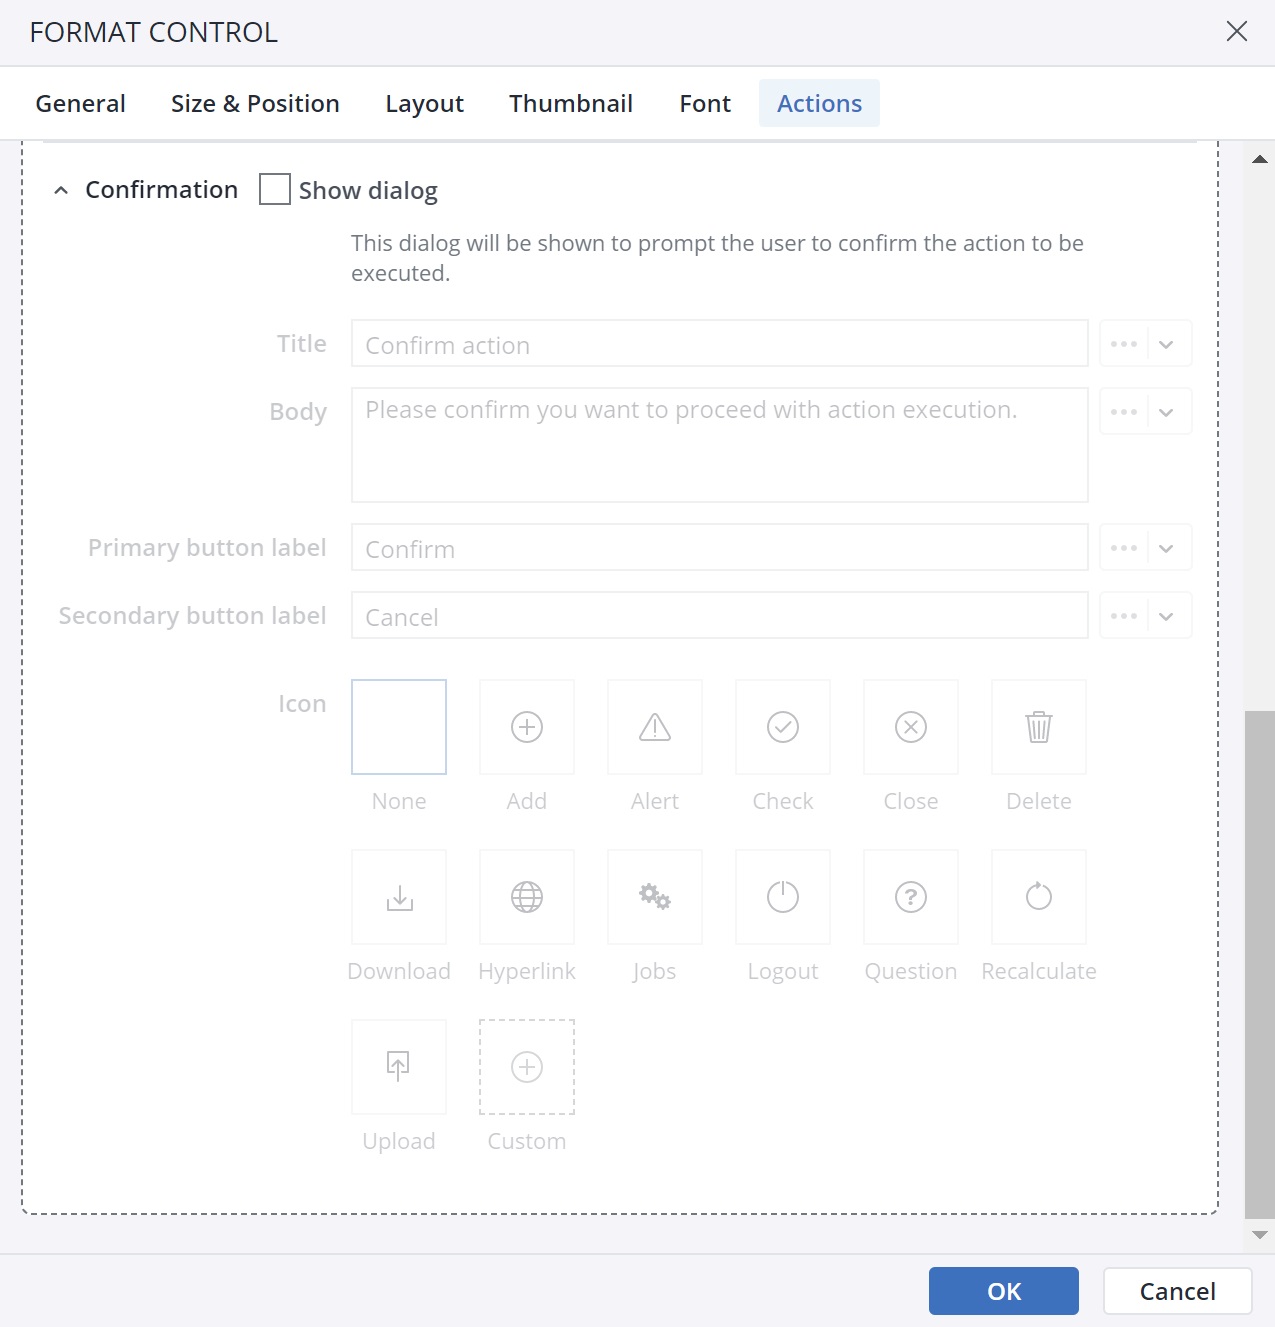
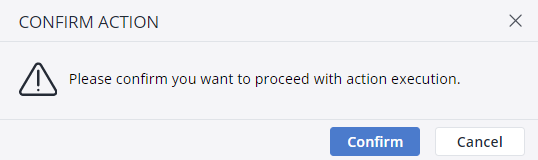
In the Confirmation dialog, you can customize a confirmation message for the end user. You can add a Title, Body, Primary button label, Secondary button label, and an Icon to your customized message. The screenshot below shows a confirmation message:
Action failure
You can choose between two options in case an action fails. First, choose to show a feedback popup, and second, ignore the failure and go to the next action.
Updated July 3, 2025