You can create and handle dimension attributes in Modeler > Dimension Properties > Attributes. This example uses the Products dimension in the Demo database.
- In the Products Dimension Properties tab, go to the Attributes section.
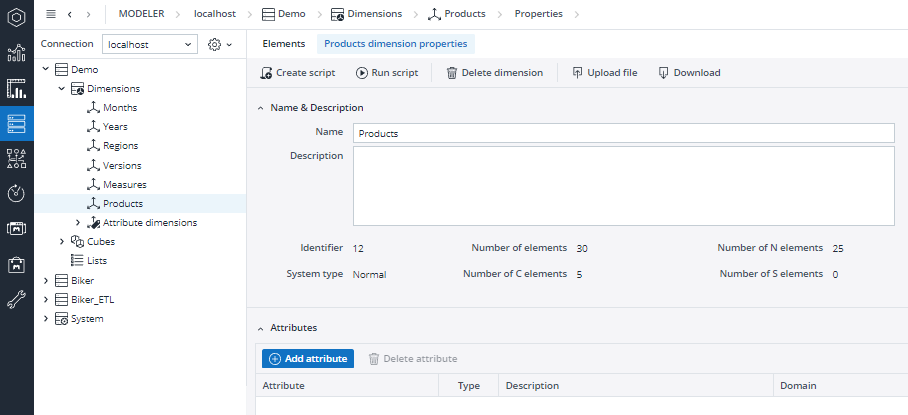
- Click the +Add attribute button to add a new attribute. A new row is added to the table. For each attribute you can define the following:
Attribute The name of the attribute. Alphanumeric. Type The type of the attribute. String or numeric. Description A description of your attribute. Alphanumeric. Domain Allows you to assign a constraint to the attribute. The following options are available:
Boolean
IntegerRange - prompts you to select a minimum and maximum value.
Float Range - prompts you to select a minimum and maximum value.
Date Range - prompts you to select a starting and ending date (MM/DD/YYYY) from a date picker.
Time Range - prompts you to select a starting time and an ending time from a time picker.
Date & Time Range - prompts you to select starting and ending references for both time and date.
Year & Month Range - prompts you to select a starting and ending date (YYYY/MM) from a date picker.
List of values - prompts you to define a list of values as well as enable the use of empty and arbitrary values.
Subset - prompts you to assign all/base/consolidated elements of a subset, a list of dimensions or cubes or a custom subset.
Stored Subsets - prompts you to select from a list of stored subsets, if they are available.
Default Value The entry used when you add new elements in the Elements tab. Virtual Flags the attribute as Virtual Dimension.
Example 1
In this example, we are adding the attribute “GPU” to the Products dimension.
- Add the following entries:

- Click Update. The attribute is now added to the dimension.
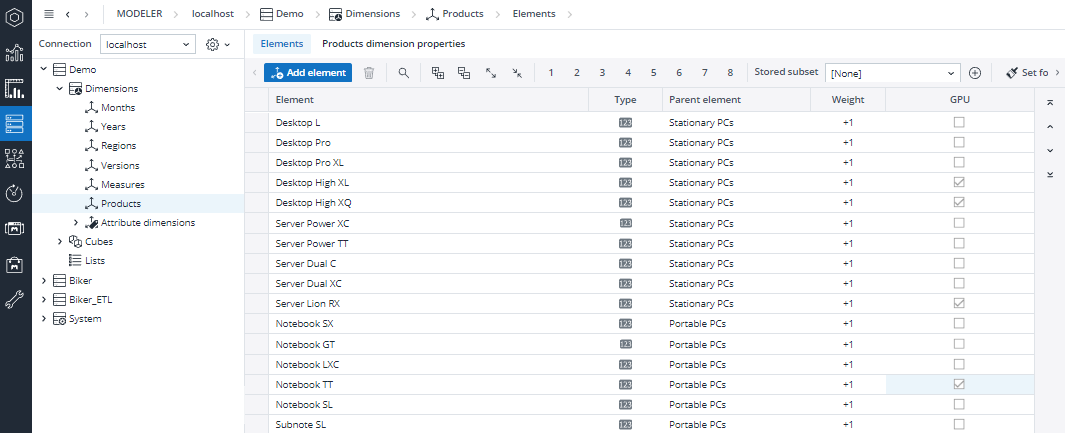
- Go to the Elements tab and expand the list of elements. A new column with the new attribute allows you to select the products that contain a GPU.
Example 2
In this example, we are adding the attribute “Price” to the Products dimension.
- Add the following entries:

- Set a float range with values between 2-60000 as a type:
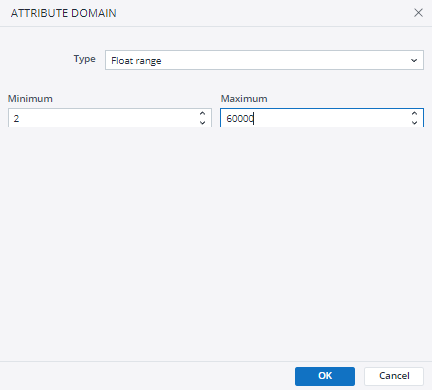
Note: In this version, Float range allows decimal numbers, but in this dialog you can only enter integers.
The specified range will only be supervised if you make entries in Modeler > Products > Elements:
If you make entries in a Jedox View with Excel Add-in or with Jedox Web, they will not be monitored.
To delete an attribute, select it from the list and click then the bin icon:
To edit the entries of an existing attribute, double click the corresponding row.
Updated September 27, 2022