Jedox Web is a web-based app that allows you to plan, analyze, and report, as well as build configurable dashboards, manage databases and data integration and more, using an intuitive interface, with no coding knowledge required. The app runs in your default web browser, for both Jedox Cloud and an on-premises installation.
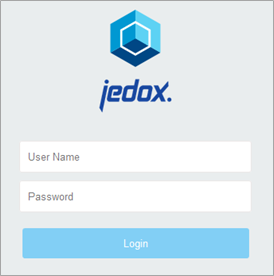
In Windows, access Jedox Web via Start > All Programs > Jedox > Jedox Web. The login dialog is displayed in the setup language:
By default, the administrator login and password are both admin. These credentials should be changed immediately after installation. See Hardening Jedox for information on making your Jedox installation as secure as possible.
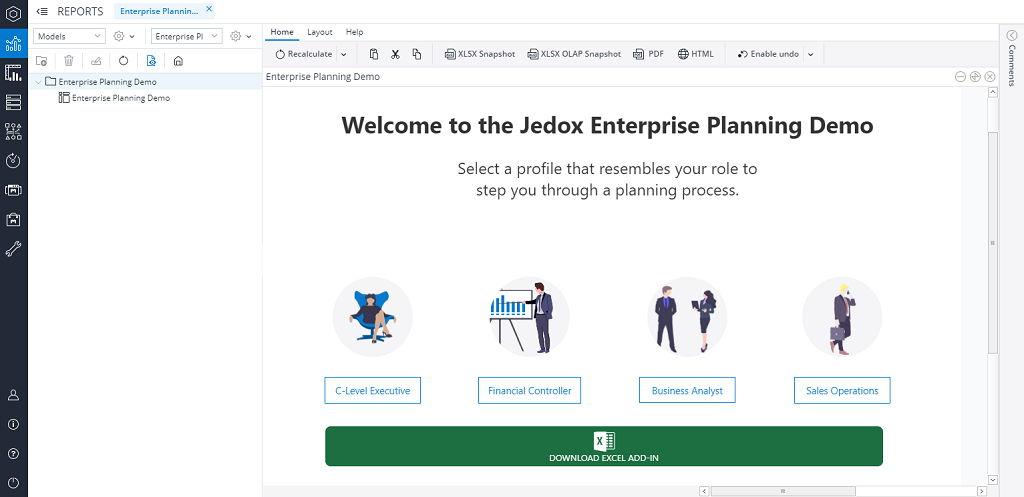
After logging in, the Jedox Web start screen is displayed.
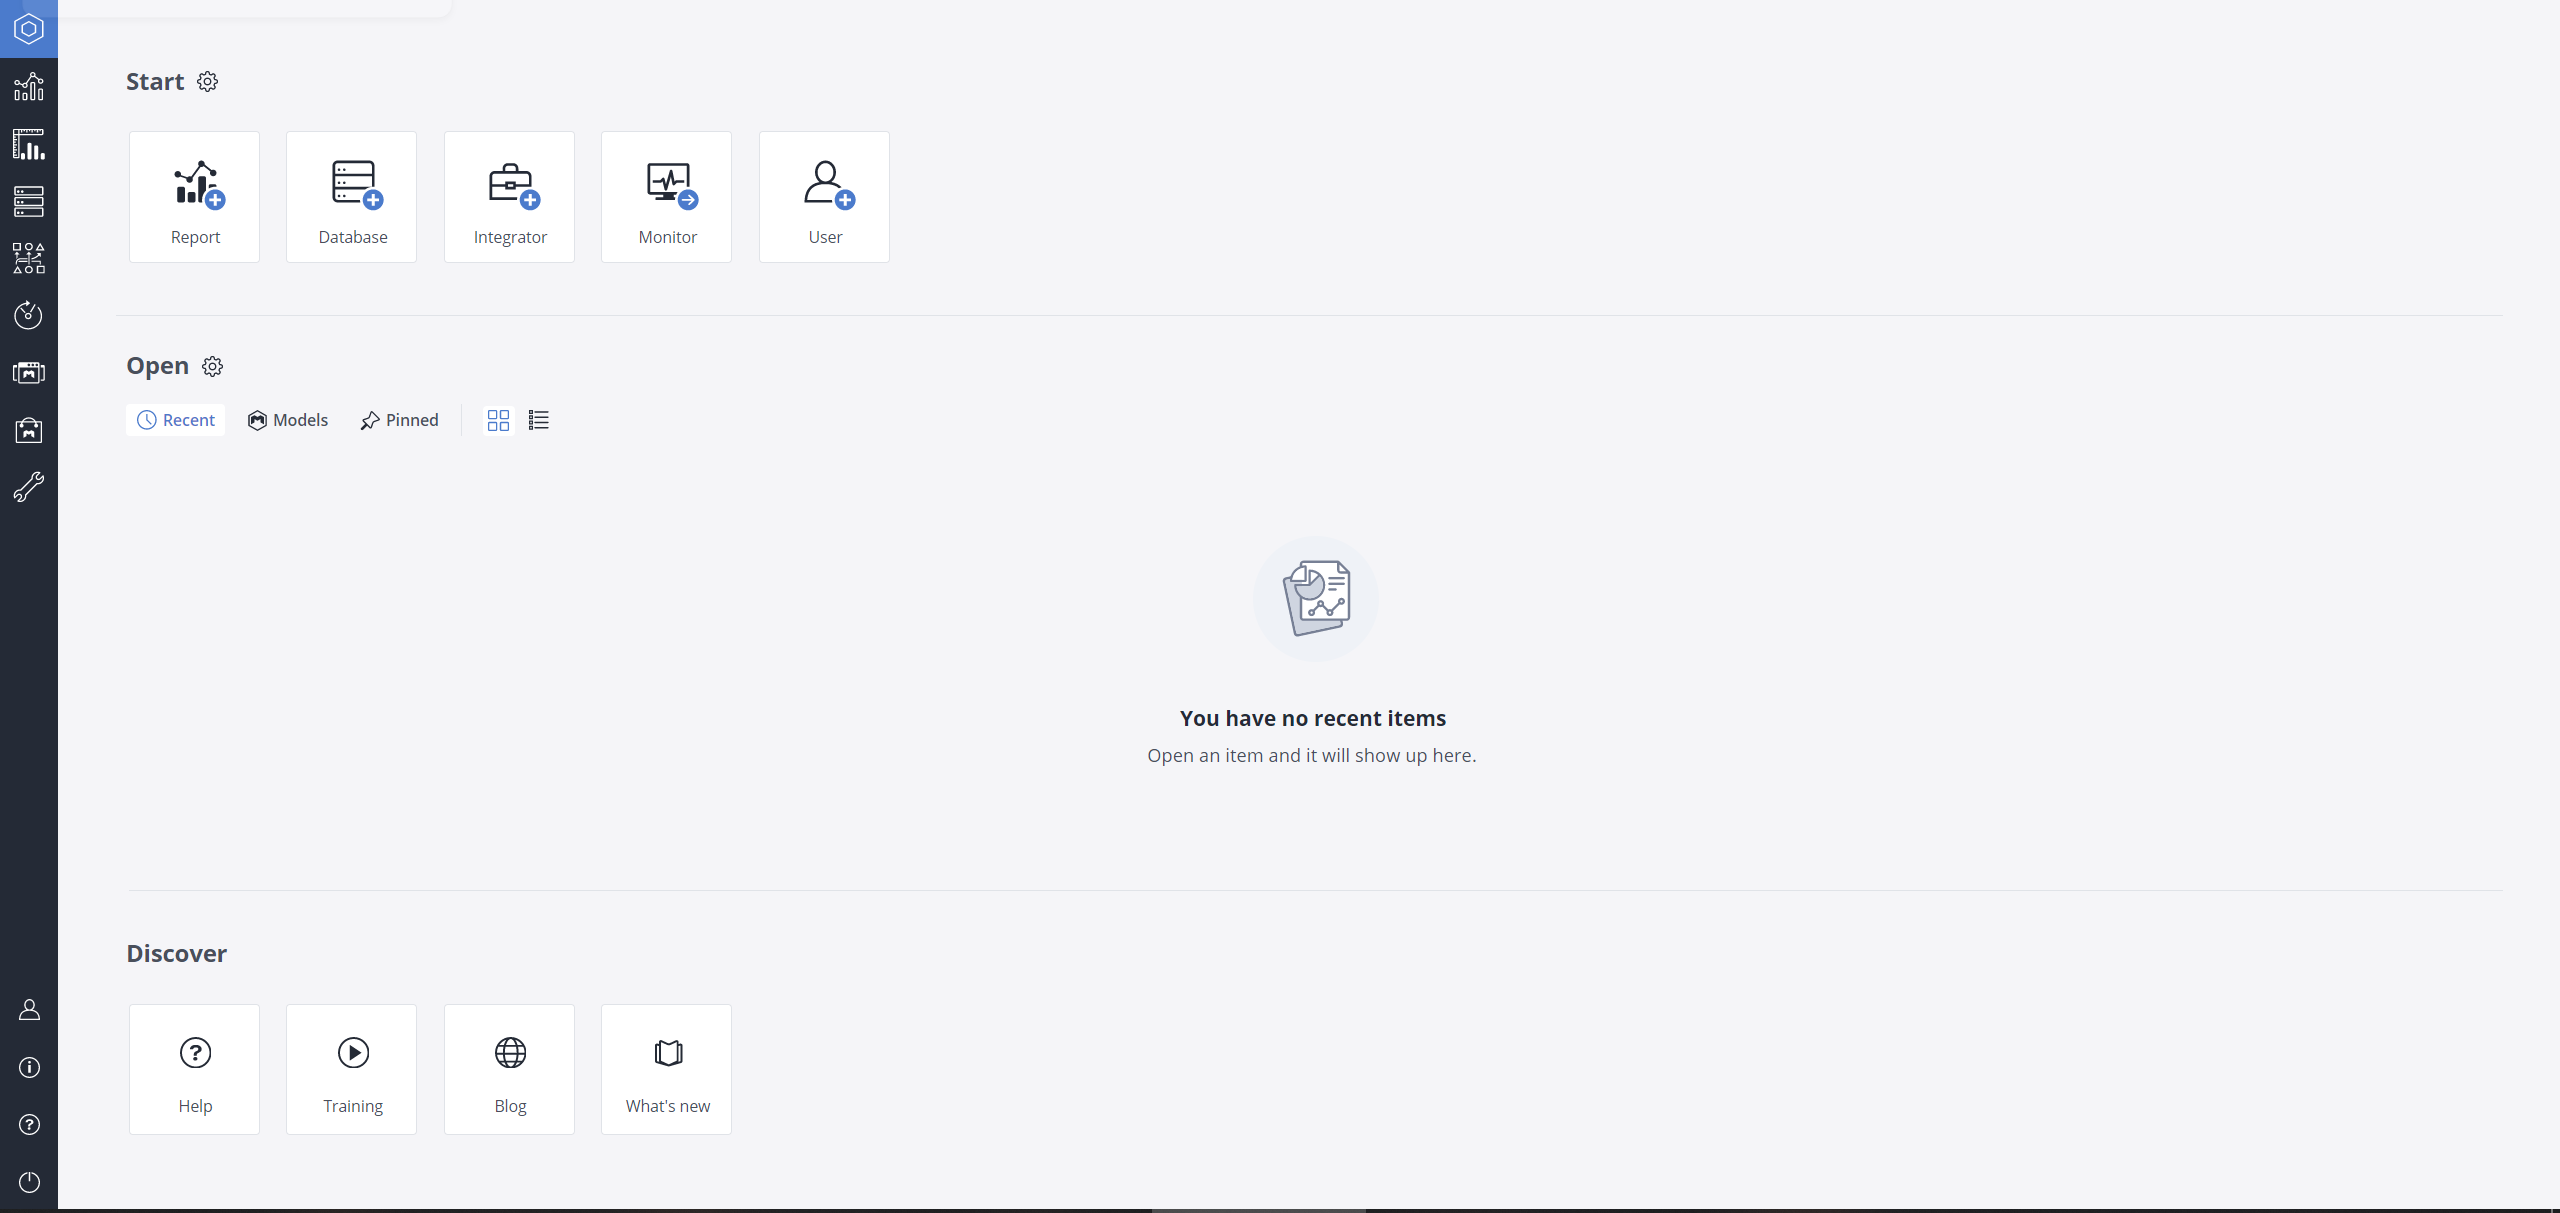
Otherwise, the Jedox Web home screen is shown, giving you access to the various components of Jedox Web. You can always navigate to the home screen by using the keyboard shortcut CTRL + H.
The Open section of the home screen (in End-User Mode) enables you to switch between three display modes:
- Recent which shows recently used items.
- Models which shows models.
- Pinned which shows pinned items.
When you select one of these modes, Jedox remembers it, and automatically shows that mode the next time you log in.
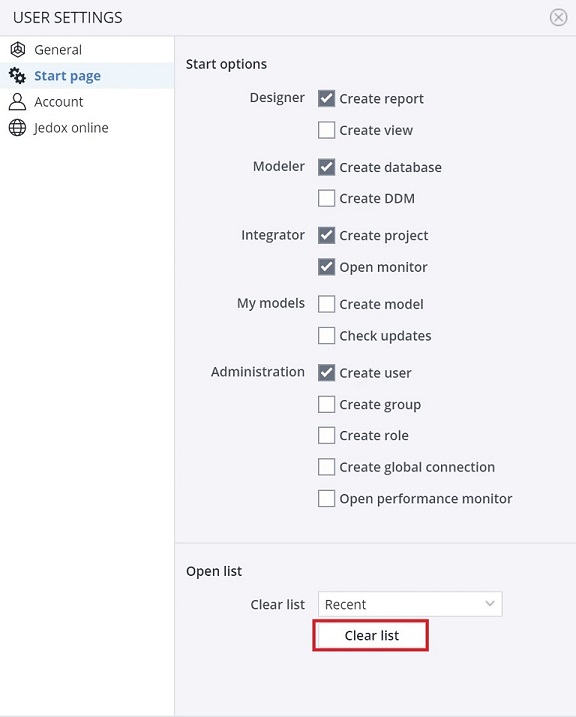
Note: to clear the list of recently opened items, go to User settings (Crtl + O) > Start page > Clear List.
The component buttons displayed on the left side of your Jedox Web home screen depend on your Jedox license and access rights. While the "admin" user always has access to all components, other users might only be able to see specific components, such as "Reports."
Components in Jedox Web
| Icon | Name | Shortcut | Description |

|
Home | CRTL + H | |

|
Reports | CRTL + R | In Reports, end users get access to reports that were created in the Report Designer and published. |

|
Designer | CRTL + D | In the Designer, you can create and design spreadsheets which can serve as reports, dashboards, or data entry sheets (and more), and manage other files. Also see the article Jedox Spreadsheet Basics. |

|
Modeler | CRTL + P | The Modeler is where you create and manage Jedox databases. |

|
Integrator | CRTL + E | Integrator projects are used for importing and exporting mass data from source system such as data warehouses. |

|
Scheduler | CRTL + K | In the Scheduler, recurring tasks can be managed, for example for the generation and distribution of PDF reports or integration of external data. |

|
My Models | CRTL + G | My Models shows which Models have been installed, and allows updating them. |

|
Marketplace | CRTL + U | Marketplace gives you access to all available Models for Jedox. |

|
Administration | CRTL + M | In Administration you manage users, data connectivity, inspect the system status, change general settings, and more. |

|
User settings | CRTL + O | User settings dialog. |

|
About Jedox | CRTL + I | |

|
Help | F1 | Starts Jedox Knowledge Base and Online Help. |

|
Logout | CRTL + L |
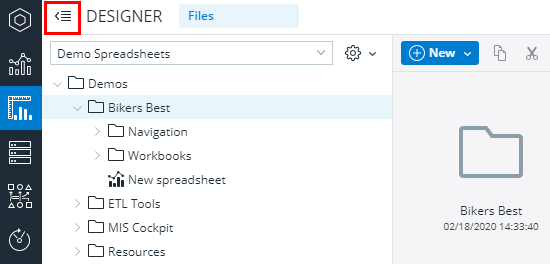
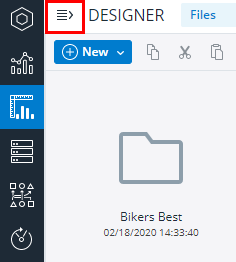
Most of the Jedox components have an area to show the hierarchical structure of its elements. This area can be displayed or hidden with the red marked button:
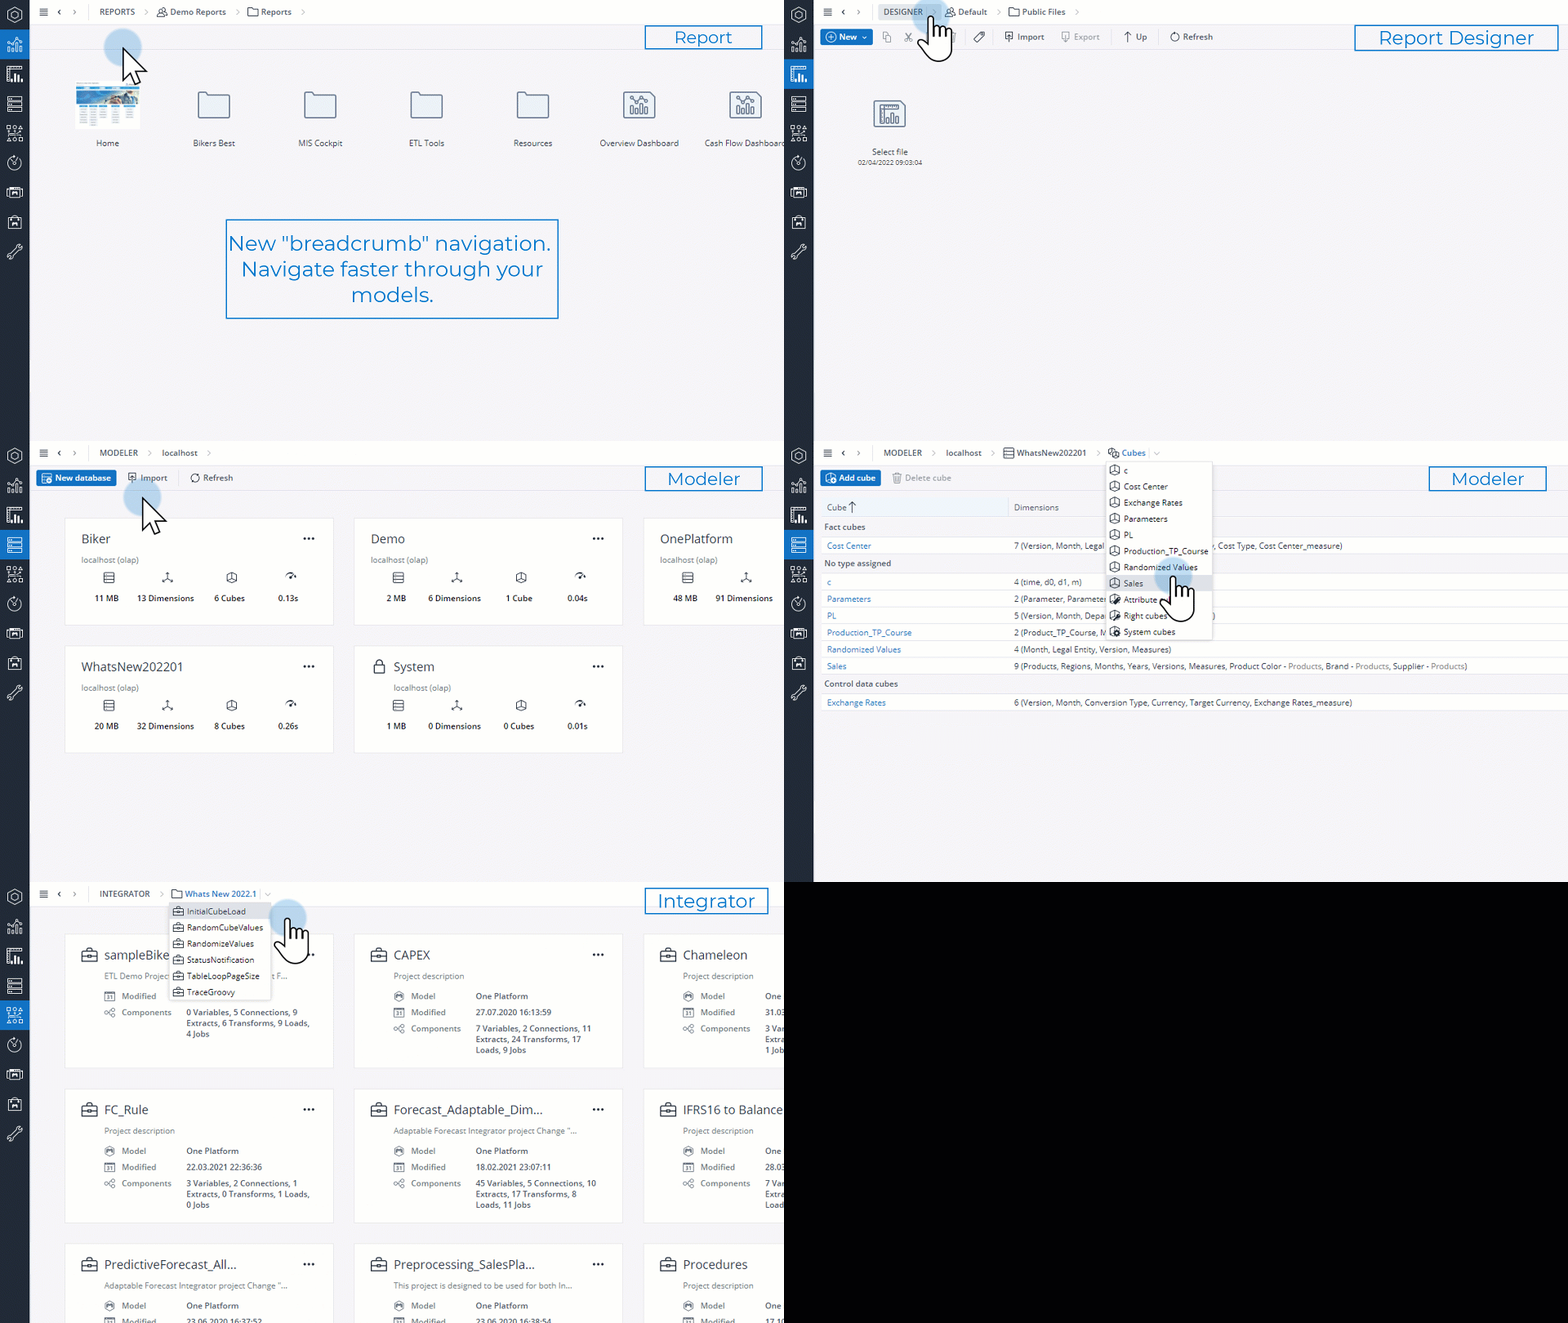
The Breadcrumb navigation is another useful tool available for all areas of Jedox Web. By clicking on the arrow icon to the right of every open tab in the header bar, you can instantly find out where you are in the system and directly jump to another location or forward navigate.
Further tiles on the Jedox Web start screen
The displayed tiles can be set in USER SETTINGS - Start page.

|
Starts USER SETTINGS with "Start options." |

|
Starts "New workbook" for the creation of a new report. |

|
Starts the dialog to create a new database. |

|
Starts the creation of a new Integrator project. |

|
Starts the "Monitor" in Integrator component.. |

|
Creates a new user in Administration component. |

|
Starts USER SETTINGS with "Open options." |
The "Open" and "Discover" buttons / tiles in the area are self-explanatory.
Creating a Jedox database view
This section offers a quick example of how to create a Jedox database view using the available demo data.
- Click on Designer > New > New spreadsheet to create a file called "Test1".
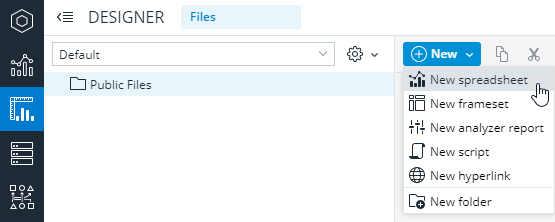
- Double-click the new file to open it. You will immediately notice that the format of the Jedox spreadsheet is identical to widely used spreadsheet programs like Microsoft Excel and OpenOffice Calc.
- After creating a new spreadsheet, place the cell pointer in A1. Go to Query > New View ... to easily create Jedox database views on a worksheet.
- The dialog box Paste View opens. Select the database Biker and the cube Orders. Then select which dimensions and elements you want to see and how they should be arranged. The dimensions of the chosen cube are displayed in the source area. You can select the dimensions/lists that you want to see as page, row or column titles and move them to the corresponding areas:
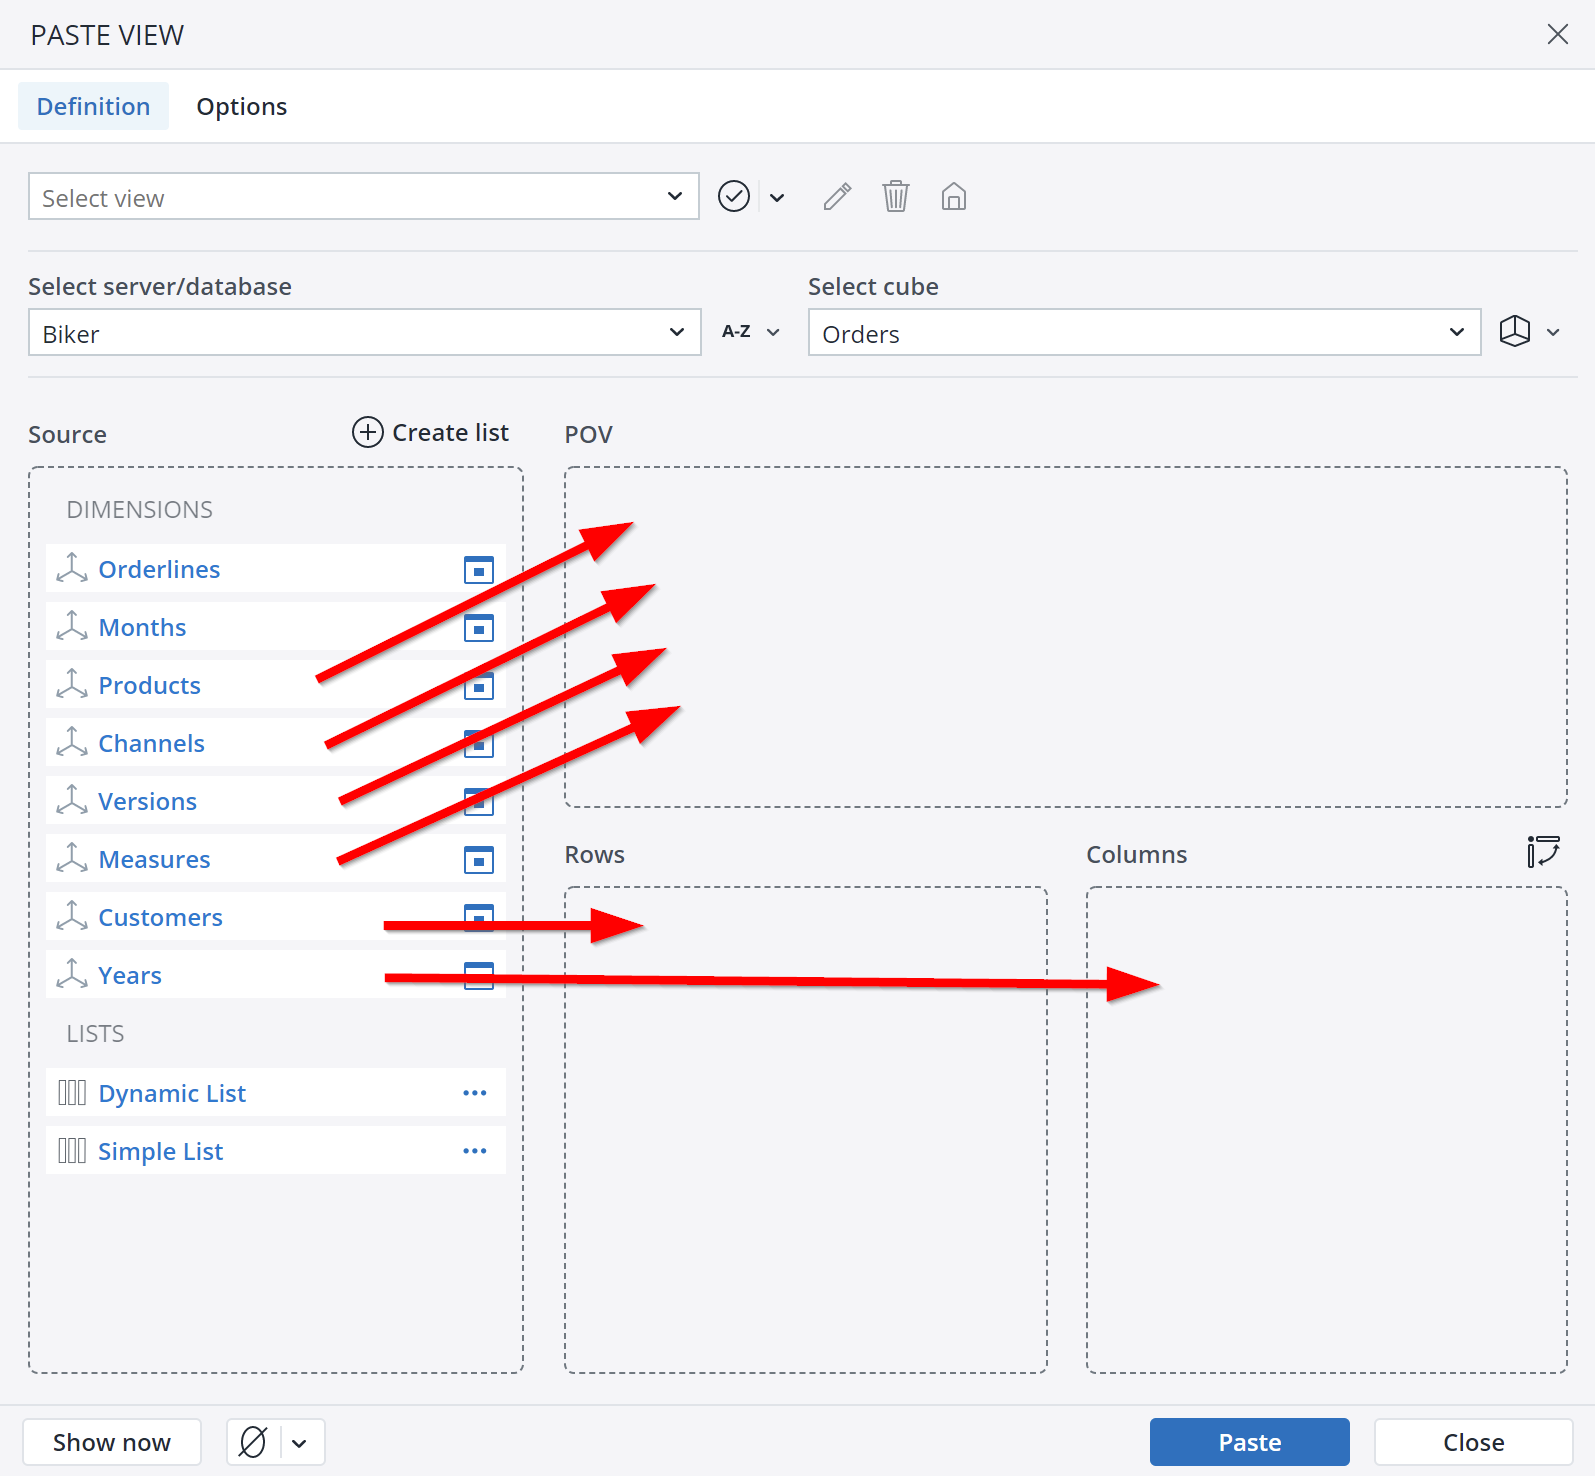
- Move the dimensions Products, Channels, Versions and Measures to the page header area (POV), the dimension Customers to the row titles area and the dimension Years to the column titles area.
- Click Paste. The following view is displayed (the value in C11 may differ, depending on the stored demo database values of the current installation):
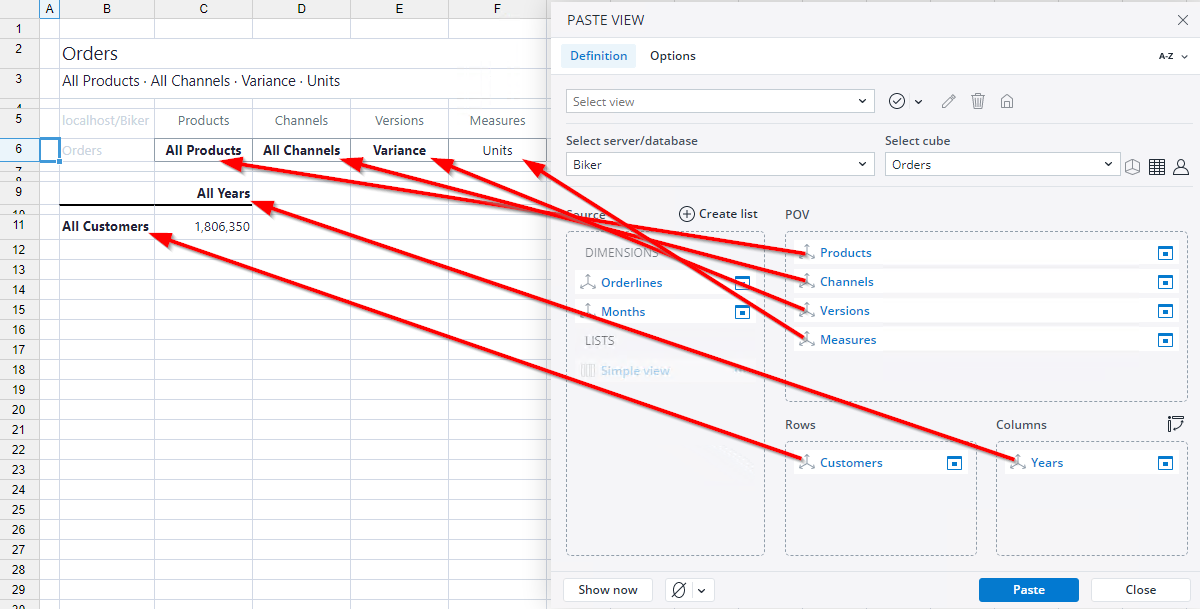
- By using the following techniques you can easily change the view:
Double-click B11: Expands rows.
Double-click C9: Expands columns.
You can change the element of the Products, Channels, Versions and Measures header dimensions by double-clicking on C6, D6, E6, or F6.
You can find a more detailed description in Creating a Jedox View.
Updated July 3, 2025
