Formatting Dimension Elements
There are four types of properties that can be defined and applied in spreadsheets:
- Styles: colors, borders, fonts, etc. (in CSS notation)
- Number formats: date, time, percentage, etc. (in Excel format notation)
- Size: height/width of rows and/or columns (in pixels)
- Rights*
These properties can be defined for each element in a dimension and can be defined in multiple dimensions. Formats defined in the Modeler are applied as the default in new Views.
* While publishing a report, the cells are usually locked. Activating the Rights checkbox unlocks the cells in the published report for all users who have write (W) rights on the respective cube cells, which are retrieved in the View or report.
Defining Styles and Formats
Styles and formats are defined in the Modeler.
- In Modeler, select a dimension.
-
Select the element on which you want to define a style. You can also select multiple elements; the same style/format will then be defined for all selected elements.
- In the overview section of the element, click Set Format/Style to open the Format Element dialog.
- The last button alternates between Show Format/Style and Hide Format/Style.
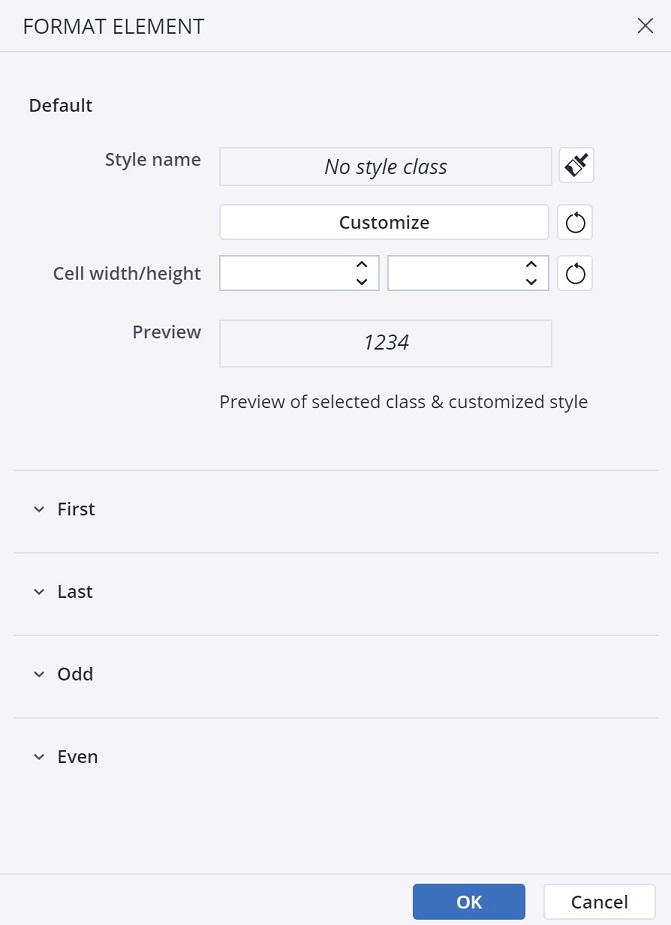
Format Element dialog
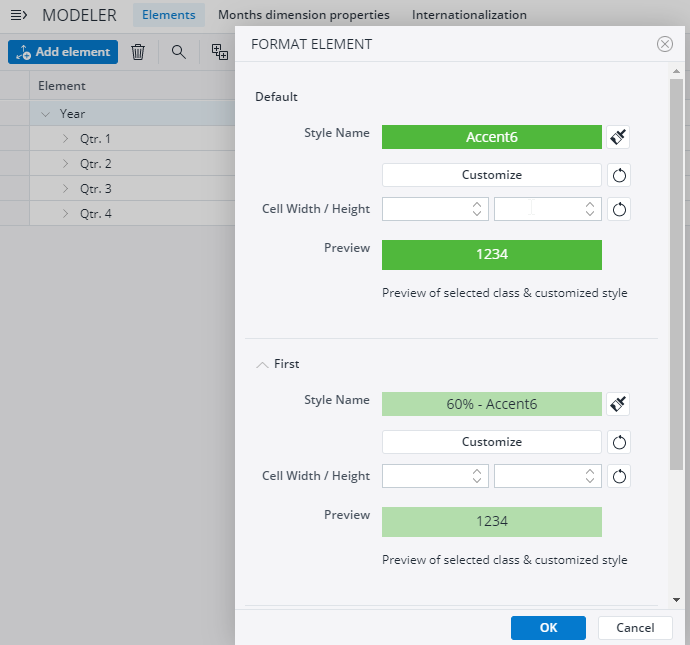
The Format Element dialog allows you to set element attributes for style, format, row height and column width (last ones with the number of pixels). You can also define specific styles or set the cells height and width for the first, the last, odd, or even elements.
Style / Format
The Style / Format section allows you to define the style and format of the elements in a dimension. You can define a default format for an element in a view, and you can also specify formats and styles if the element is the first, last, odd, or even element in a view.
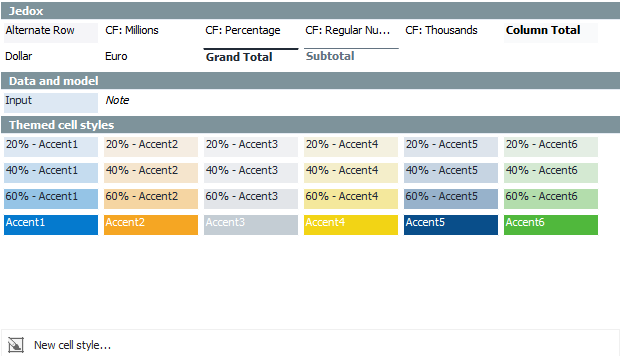
You can select a predefined style by clicking  and selecting it from the drop down box.
Creating a new cell style
You can also create new cell styles:
- In the drop down box, click New Cell Style. The Style dialog is displayed.
- Select the elements you want to include in your style definition.
- You can format your style further by clicking Format...This opens the Format Cells dialog.
- Click Ok. Your style is now available in the style list.
- You can access the Format Cells window for your already defined style.
- Click Ok. The style is now applied to the element.
The Format Element window allows you to see a preview of your dynamic style.
You can return to the initial settings by clicking Reset.
When defining styles on elements in a dimension, Jedox adds a set of attributes in this dimension to store style-related information. By default, these attributes are not shown in the elements grid, but you can display them. To see the dynamic style attributes for each dimension element, select a dimension in Modeler and click on the  Show format/style button. The style settings are shown in columns, for each element.
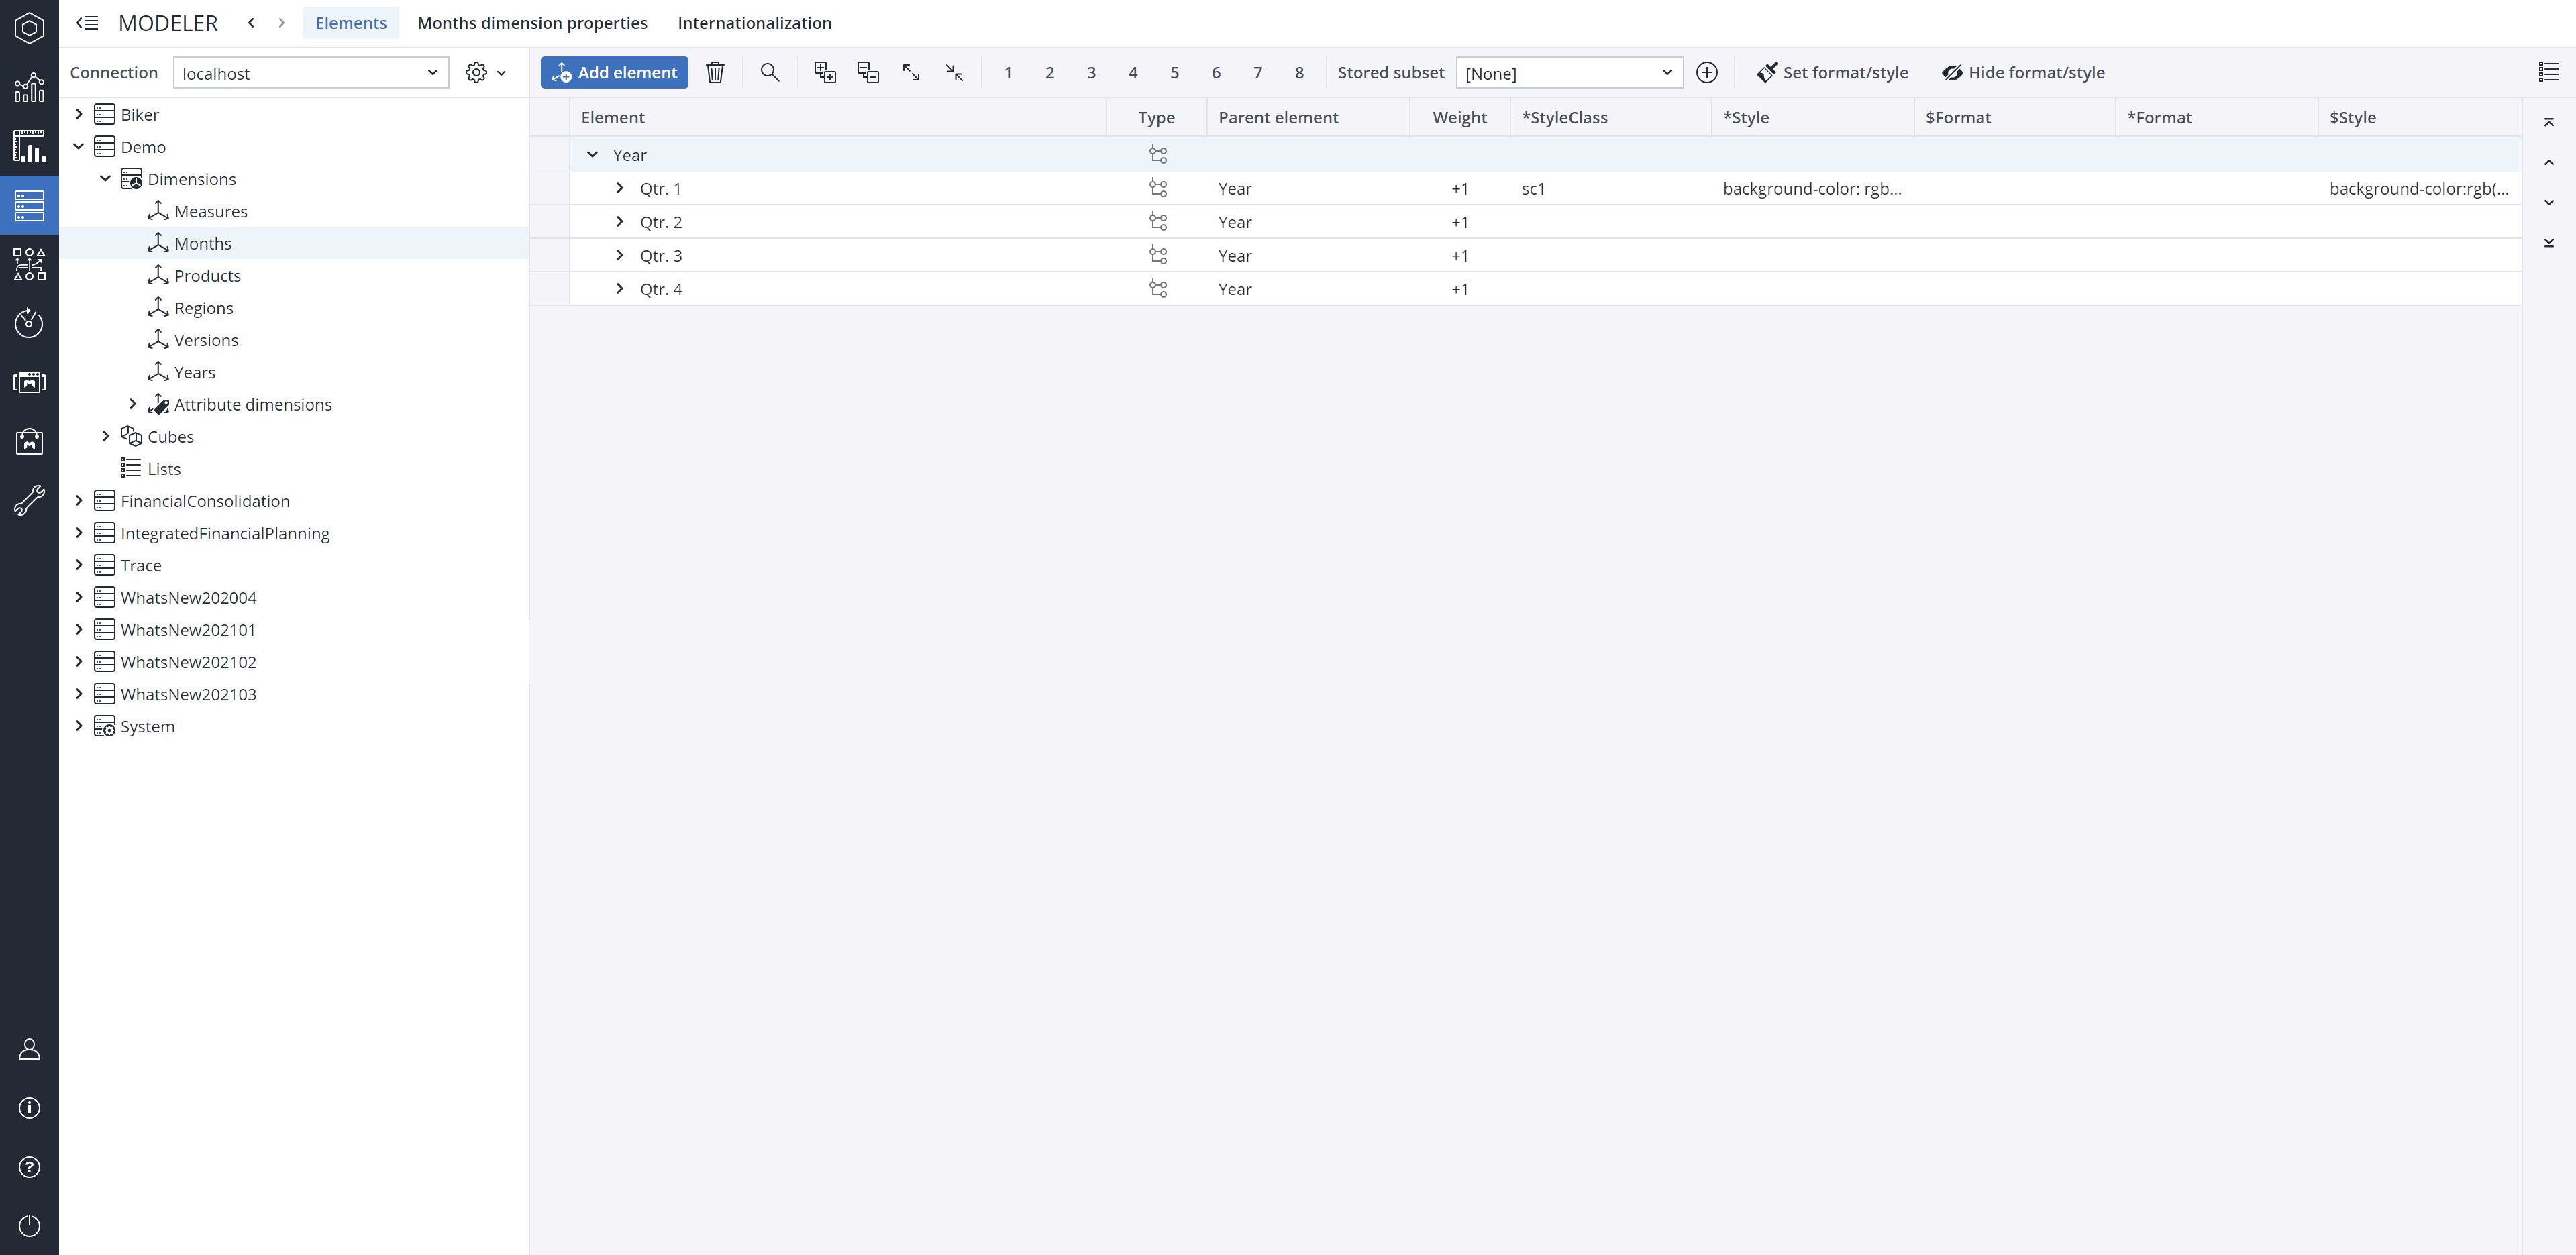
Additionally, Jedox creates a set of rules on the attribute cube for the dimension where styles are defined. It also creates one on the #_CELL_PROPERTIES cube for each cube which uses the dimension in question. When customizing one of the existing element style classes, or creating new element style classes, Jedox will also create a new, hidden dimension inside of the database, called #_STYLES.
Removing styles and formats from a dimension element
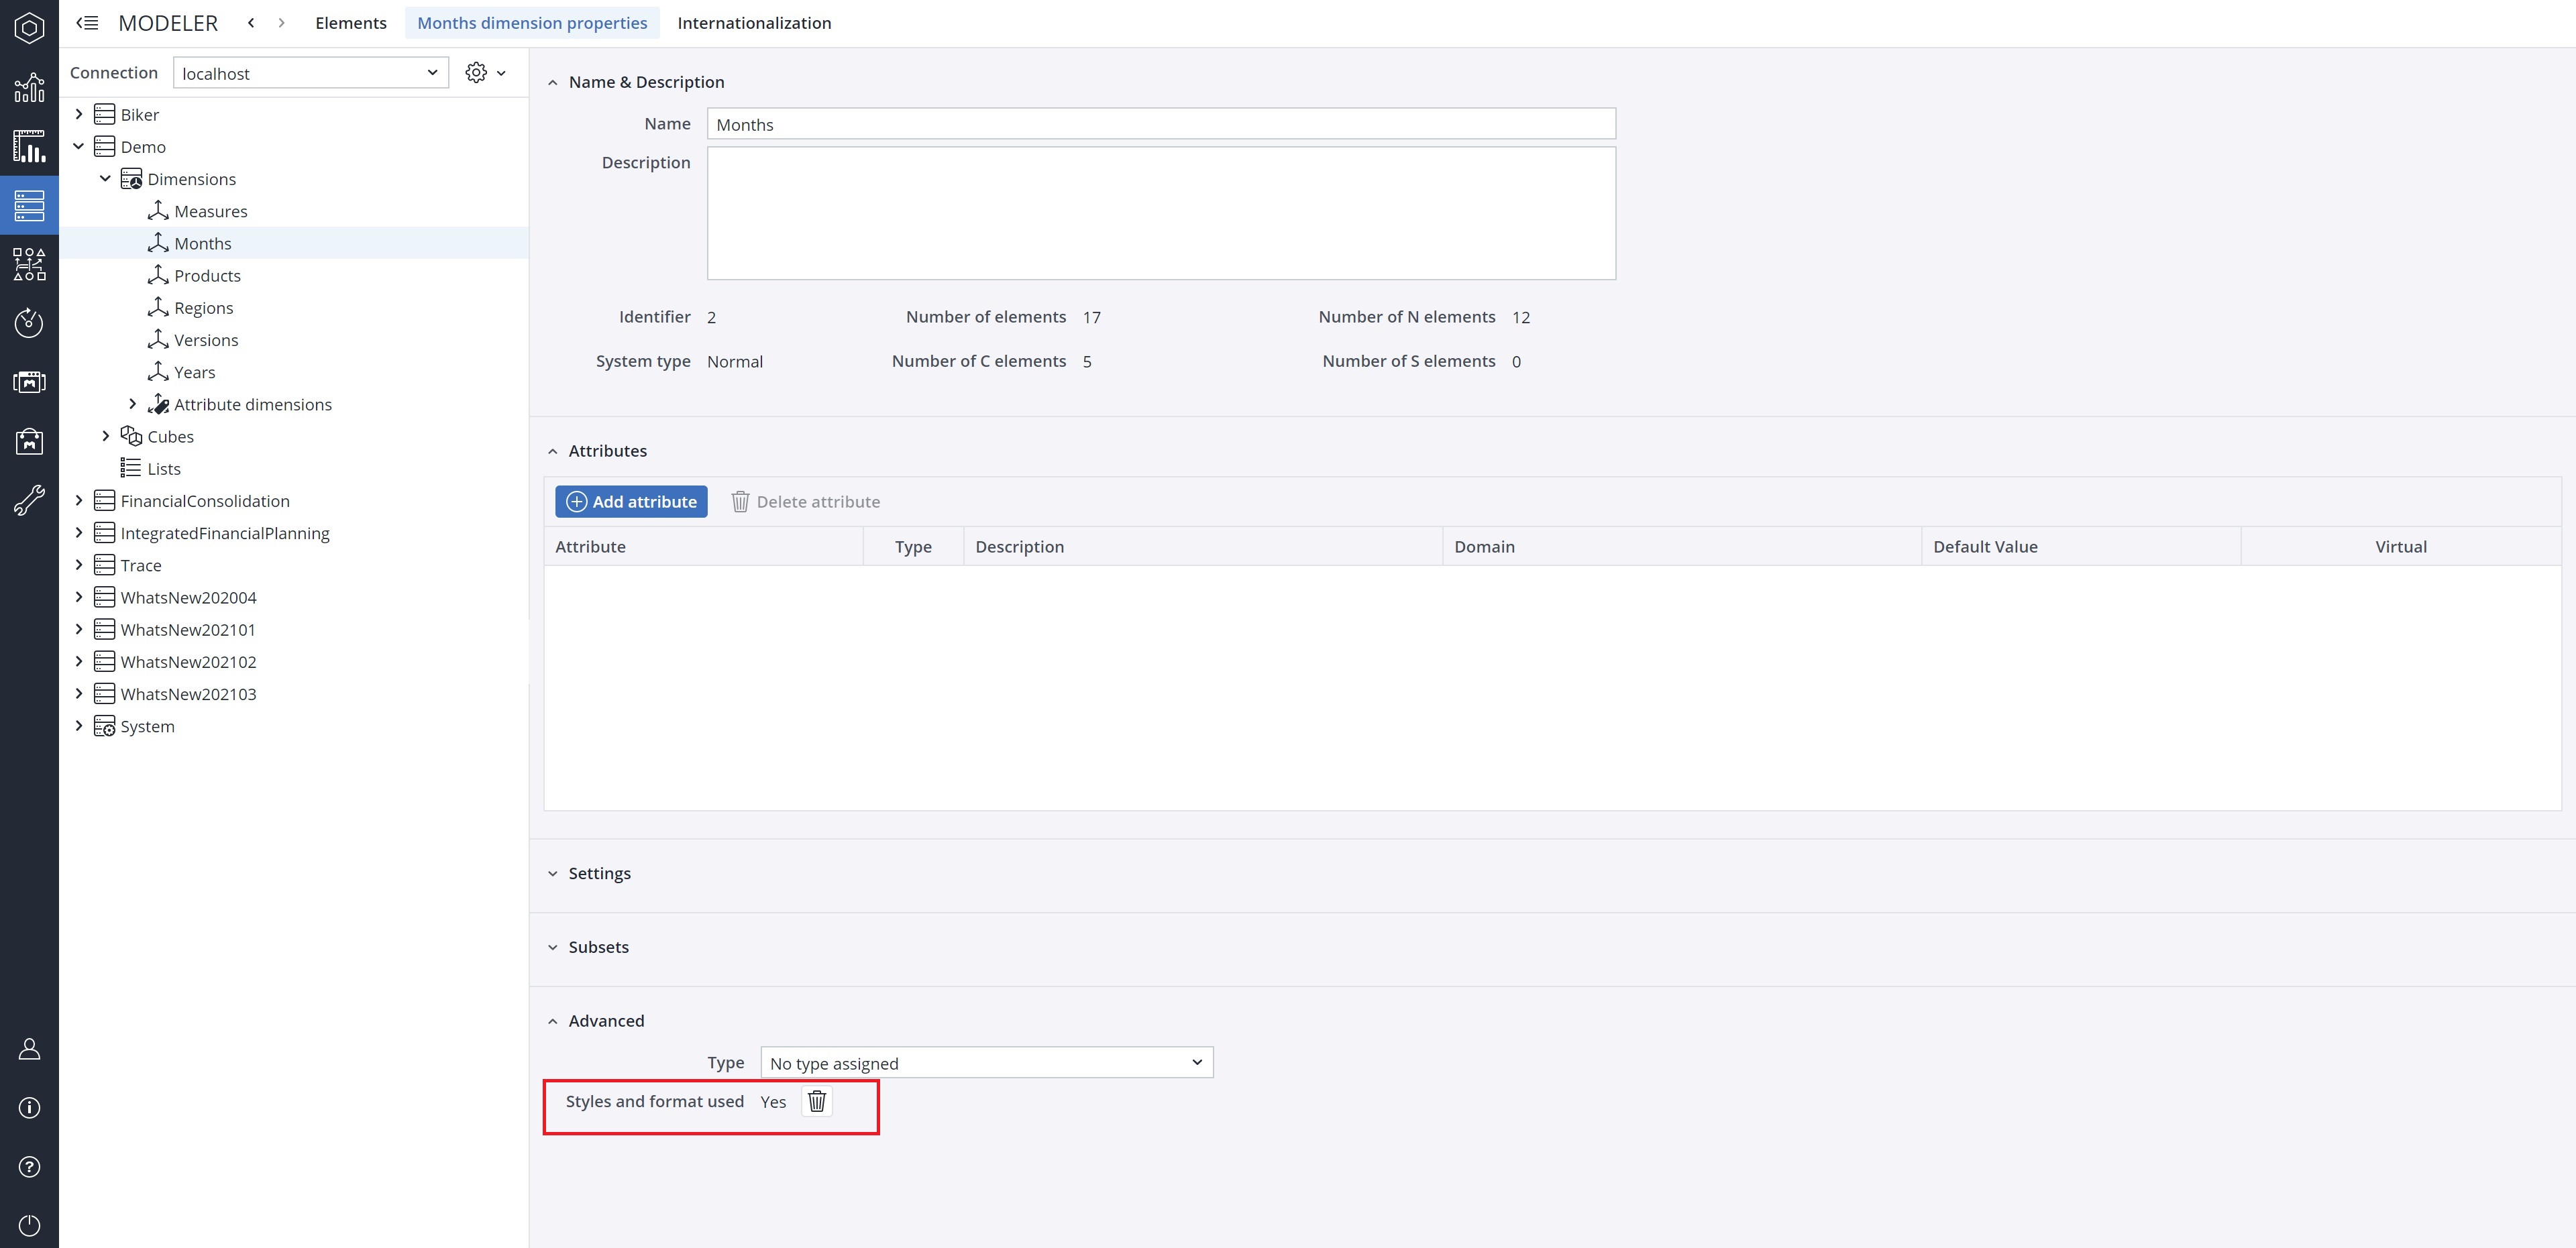
You can remove any style and format from a dimension element by going to the Dimension Properties tab. Expand the Advanced section and click the ![]() button. A confirmation dialog is displayed. Click Yes. The styles and formats are now removed from the dimension.
button. A confirmation dialog is displayed. Click Yes. The styles and formats are now removed from the dimension.
For more information on styles and formatting, read the Applying styles and formats in Views and Using of styles and formats in custom reports articles.
Updated July 21, 2025

